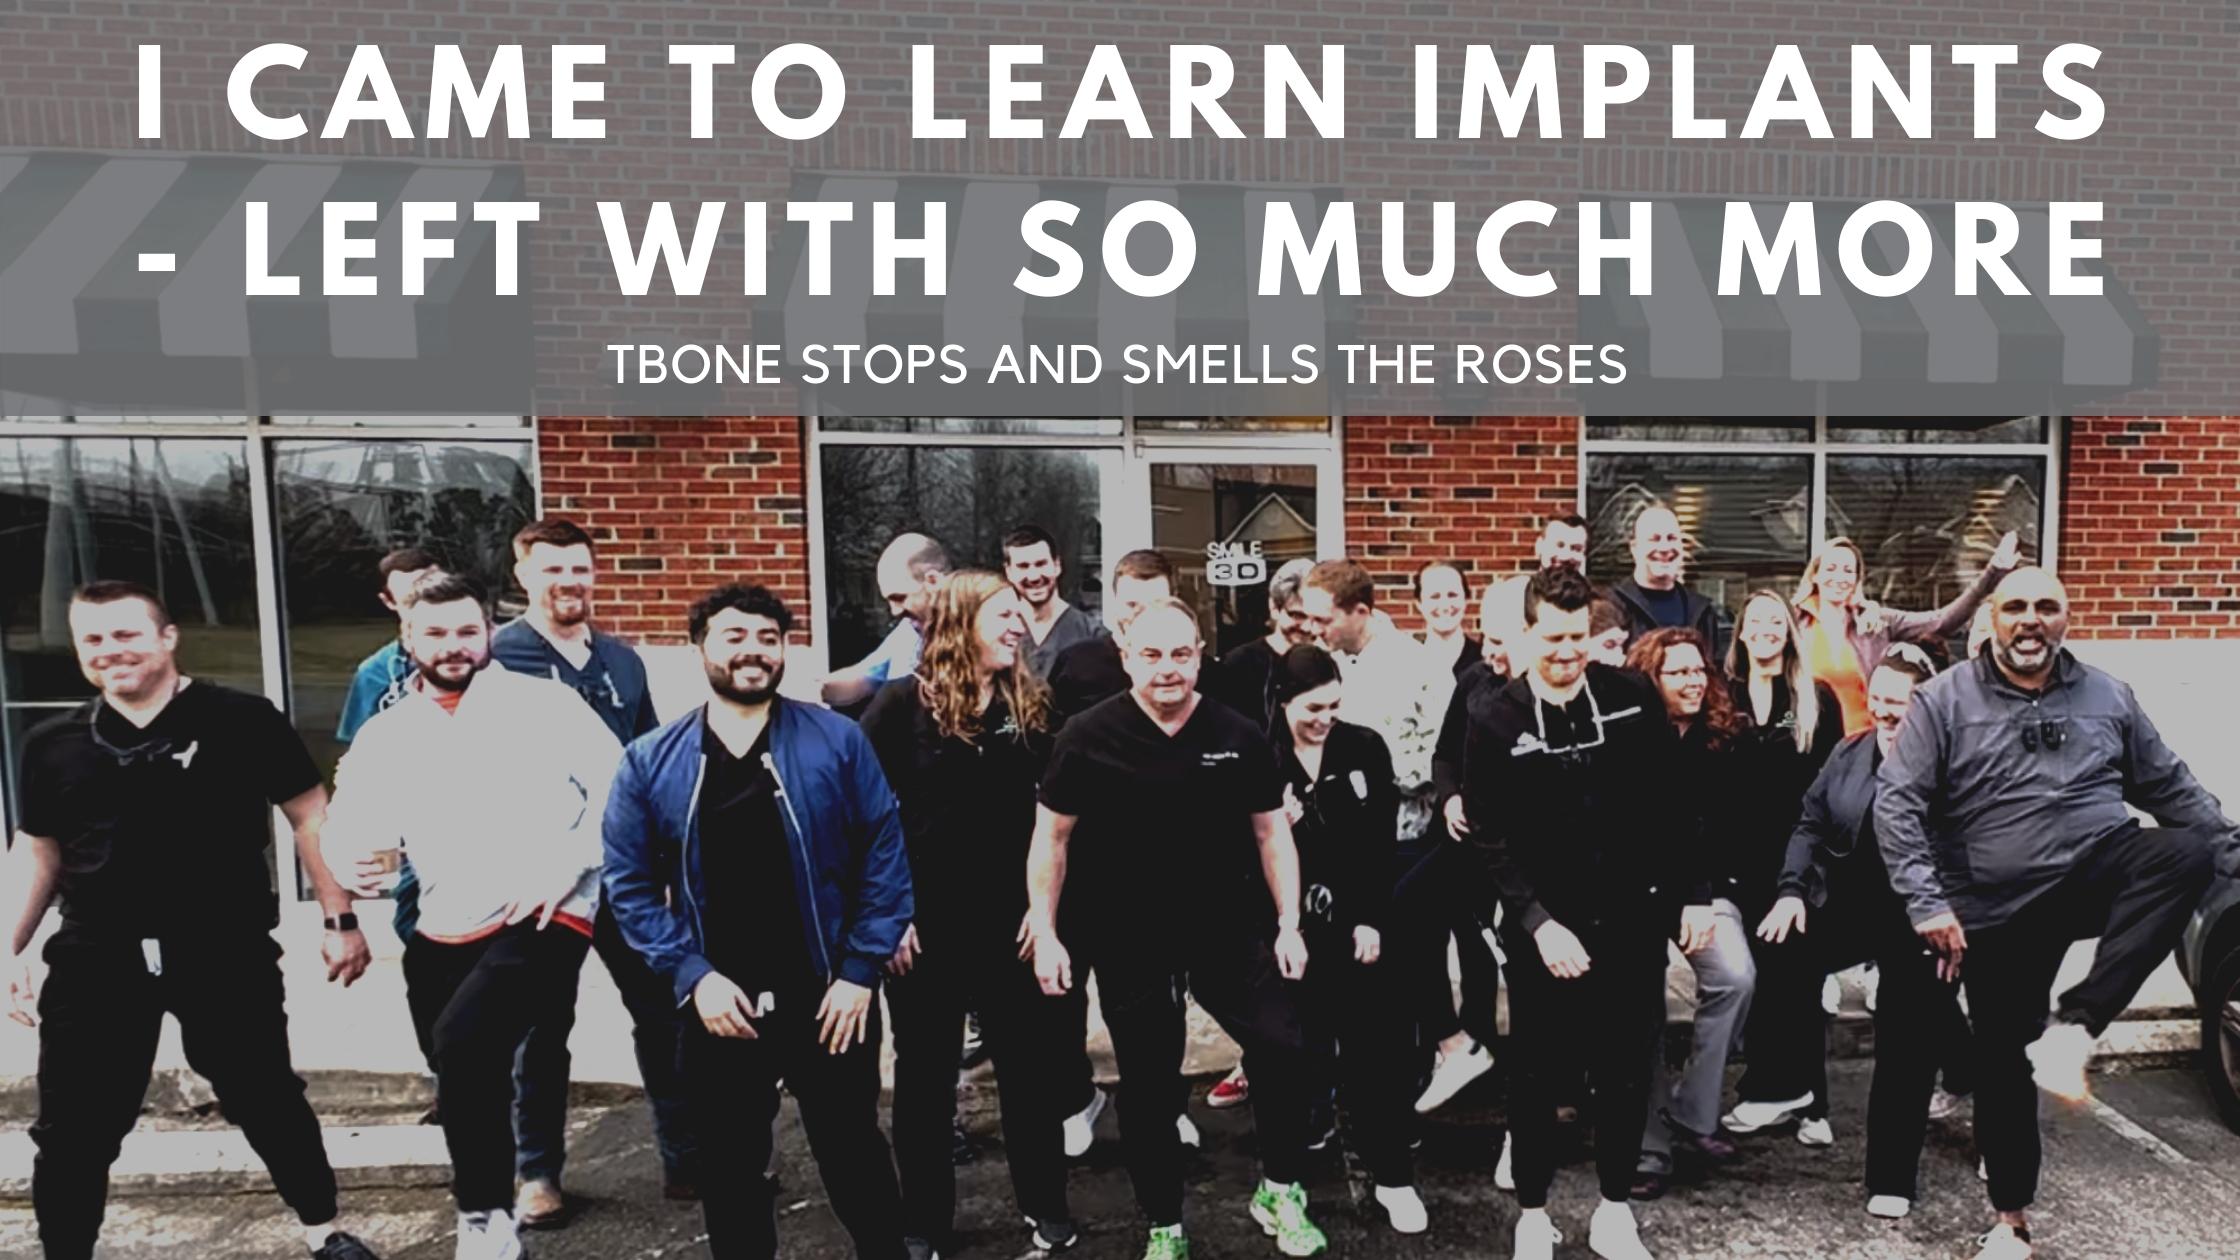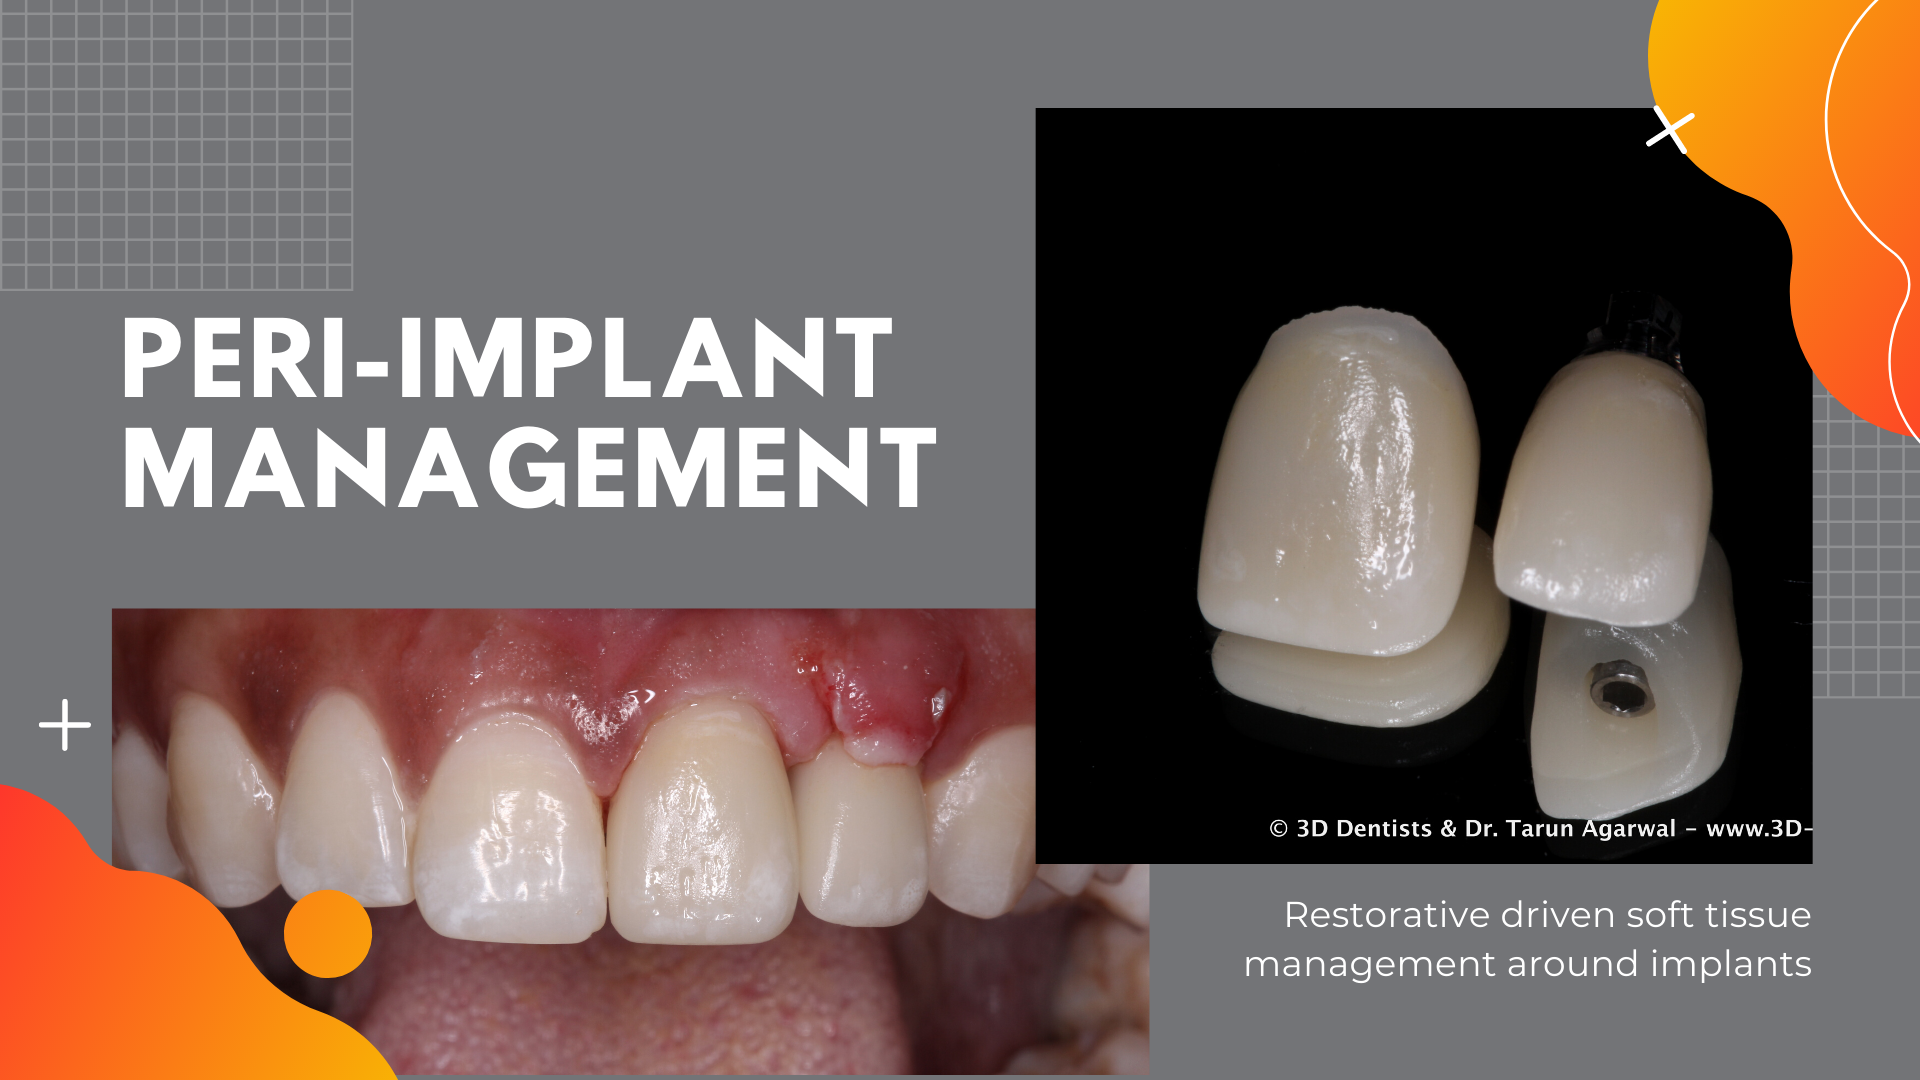
The pink (soft tissue) portion of implants is often overlooked – certainly early in one’s implant journey. I’d like to talk and share one tissue management technique that I use to help develop ‘ideal’ soft tissue around dental implant without fancy grafting.
Tissue Punch Should Be Sparingly Used
Maintaining at least 2mm of keratinized tissue around dental implants is very important to long term implant success.
Early in my implant journey I was afraid of laying flaps and wanted to utilize tissue punches all the time. Unfortunately, I was doing tissue punches even when they weren’t appropriate. When you perform a tissue punch you are taking that keratinized tissue and literally throwing it away. Now instead I employ mini-flaps whenever working with tissue around implants.
Clinical Presentation
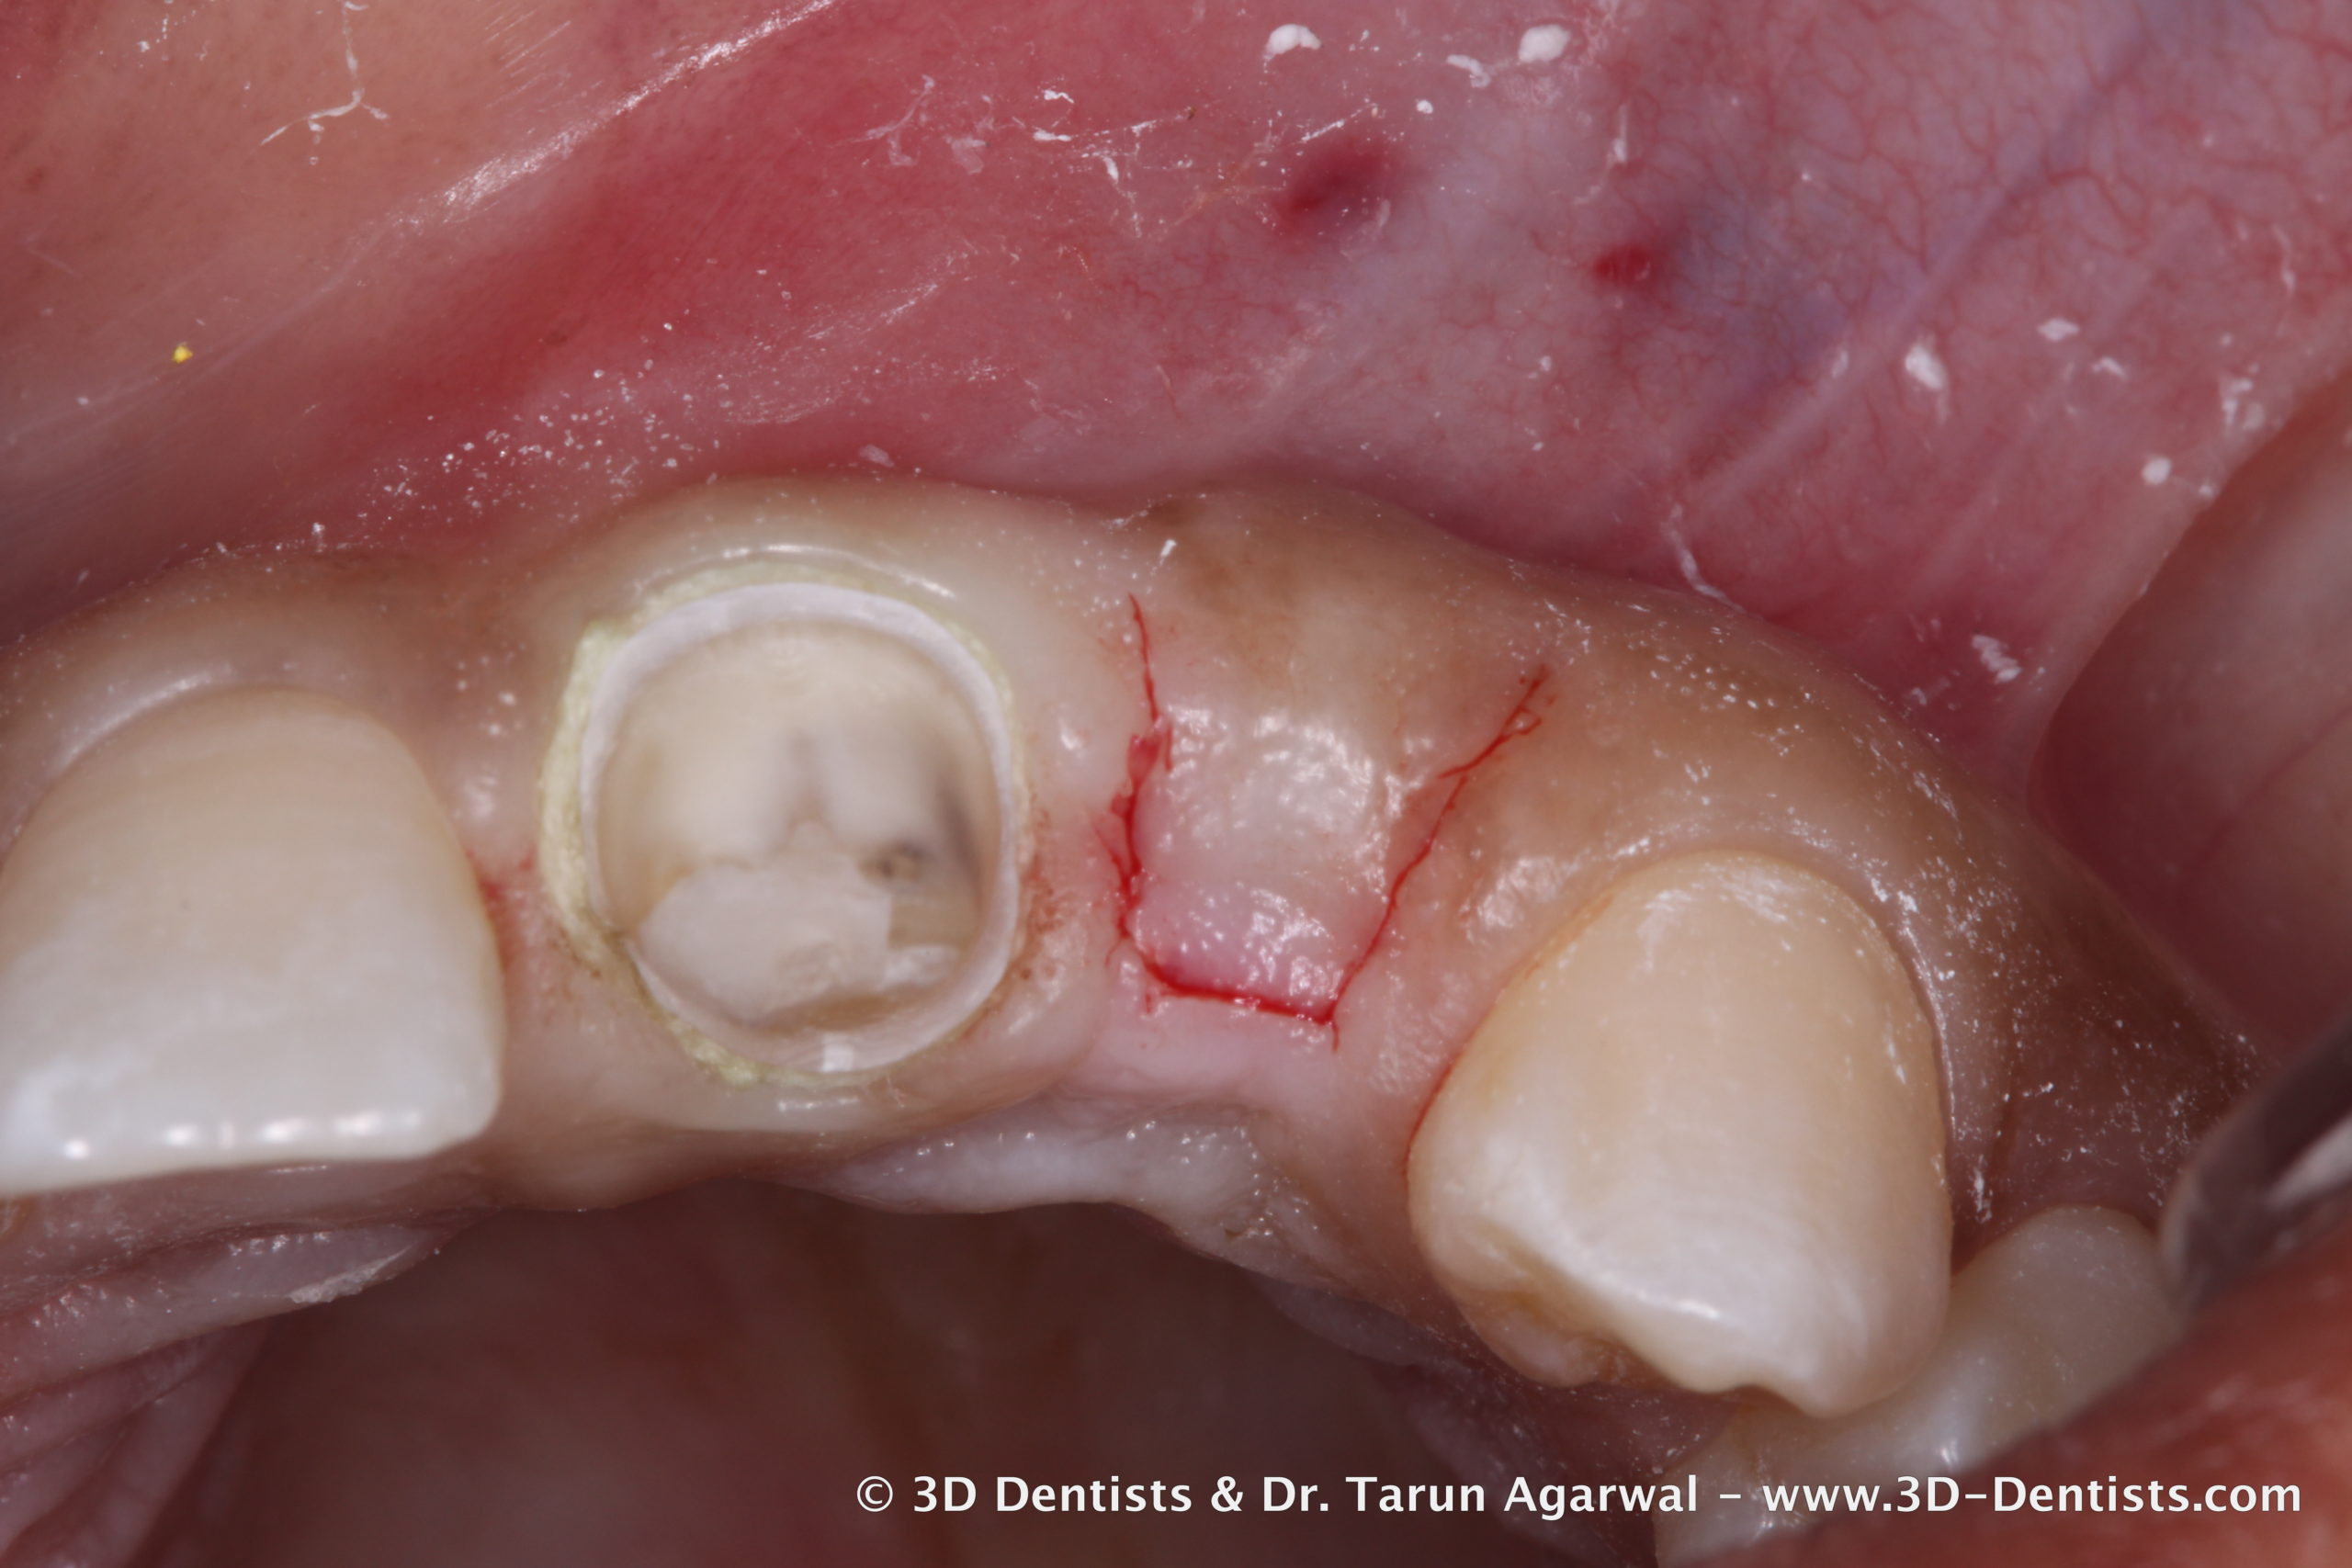
This wonderful patient came to our office after having broken #9 and missing #10.

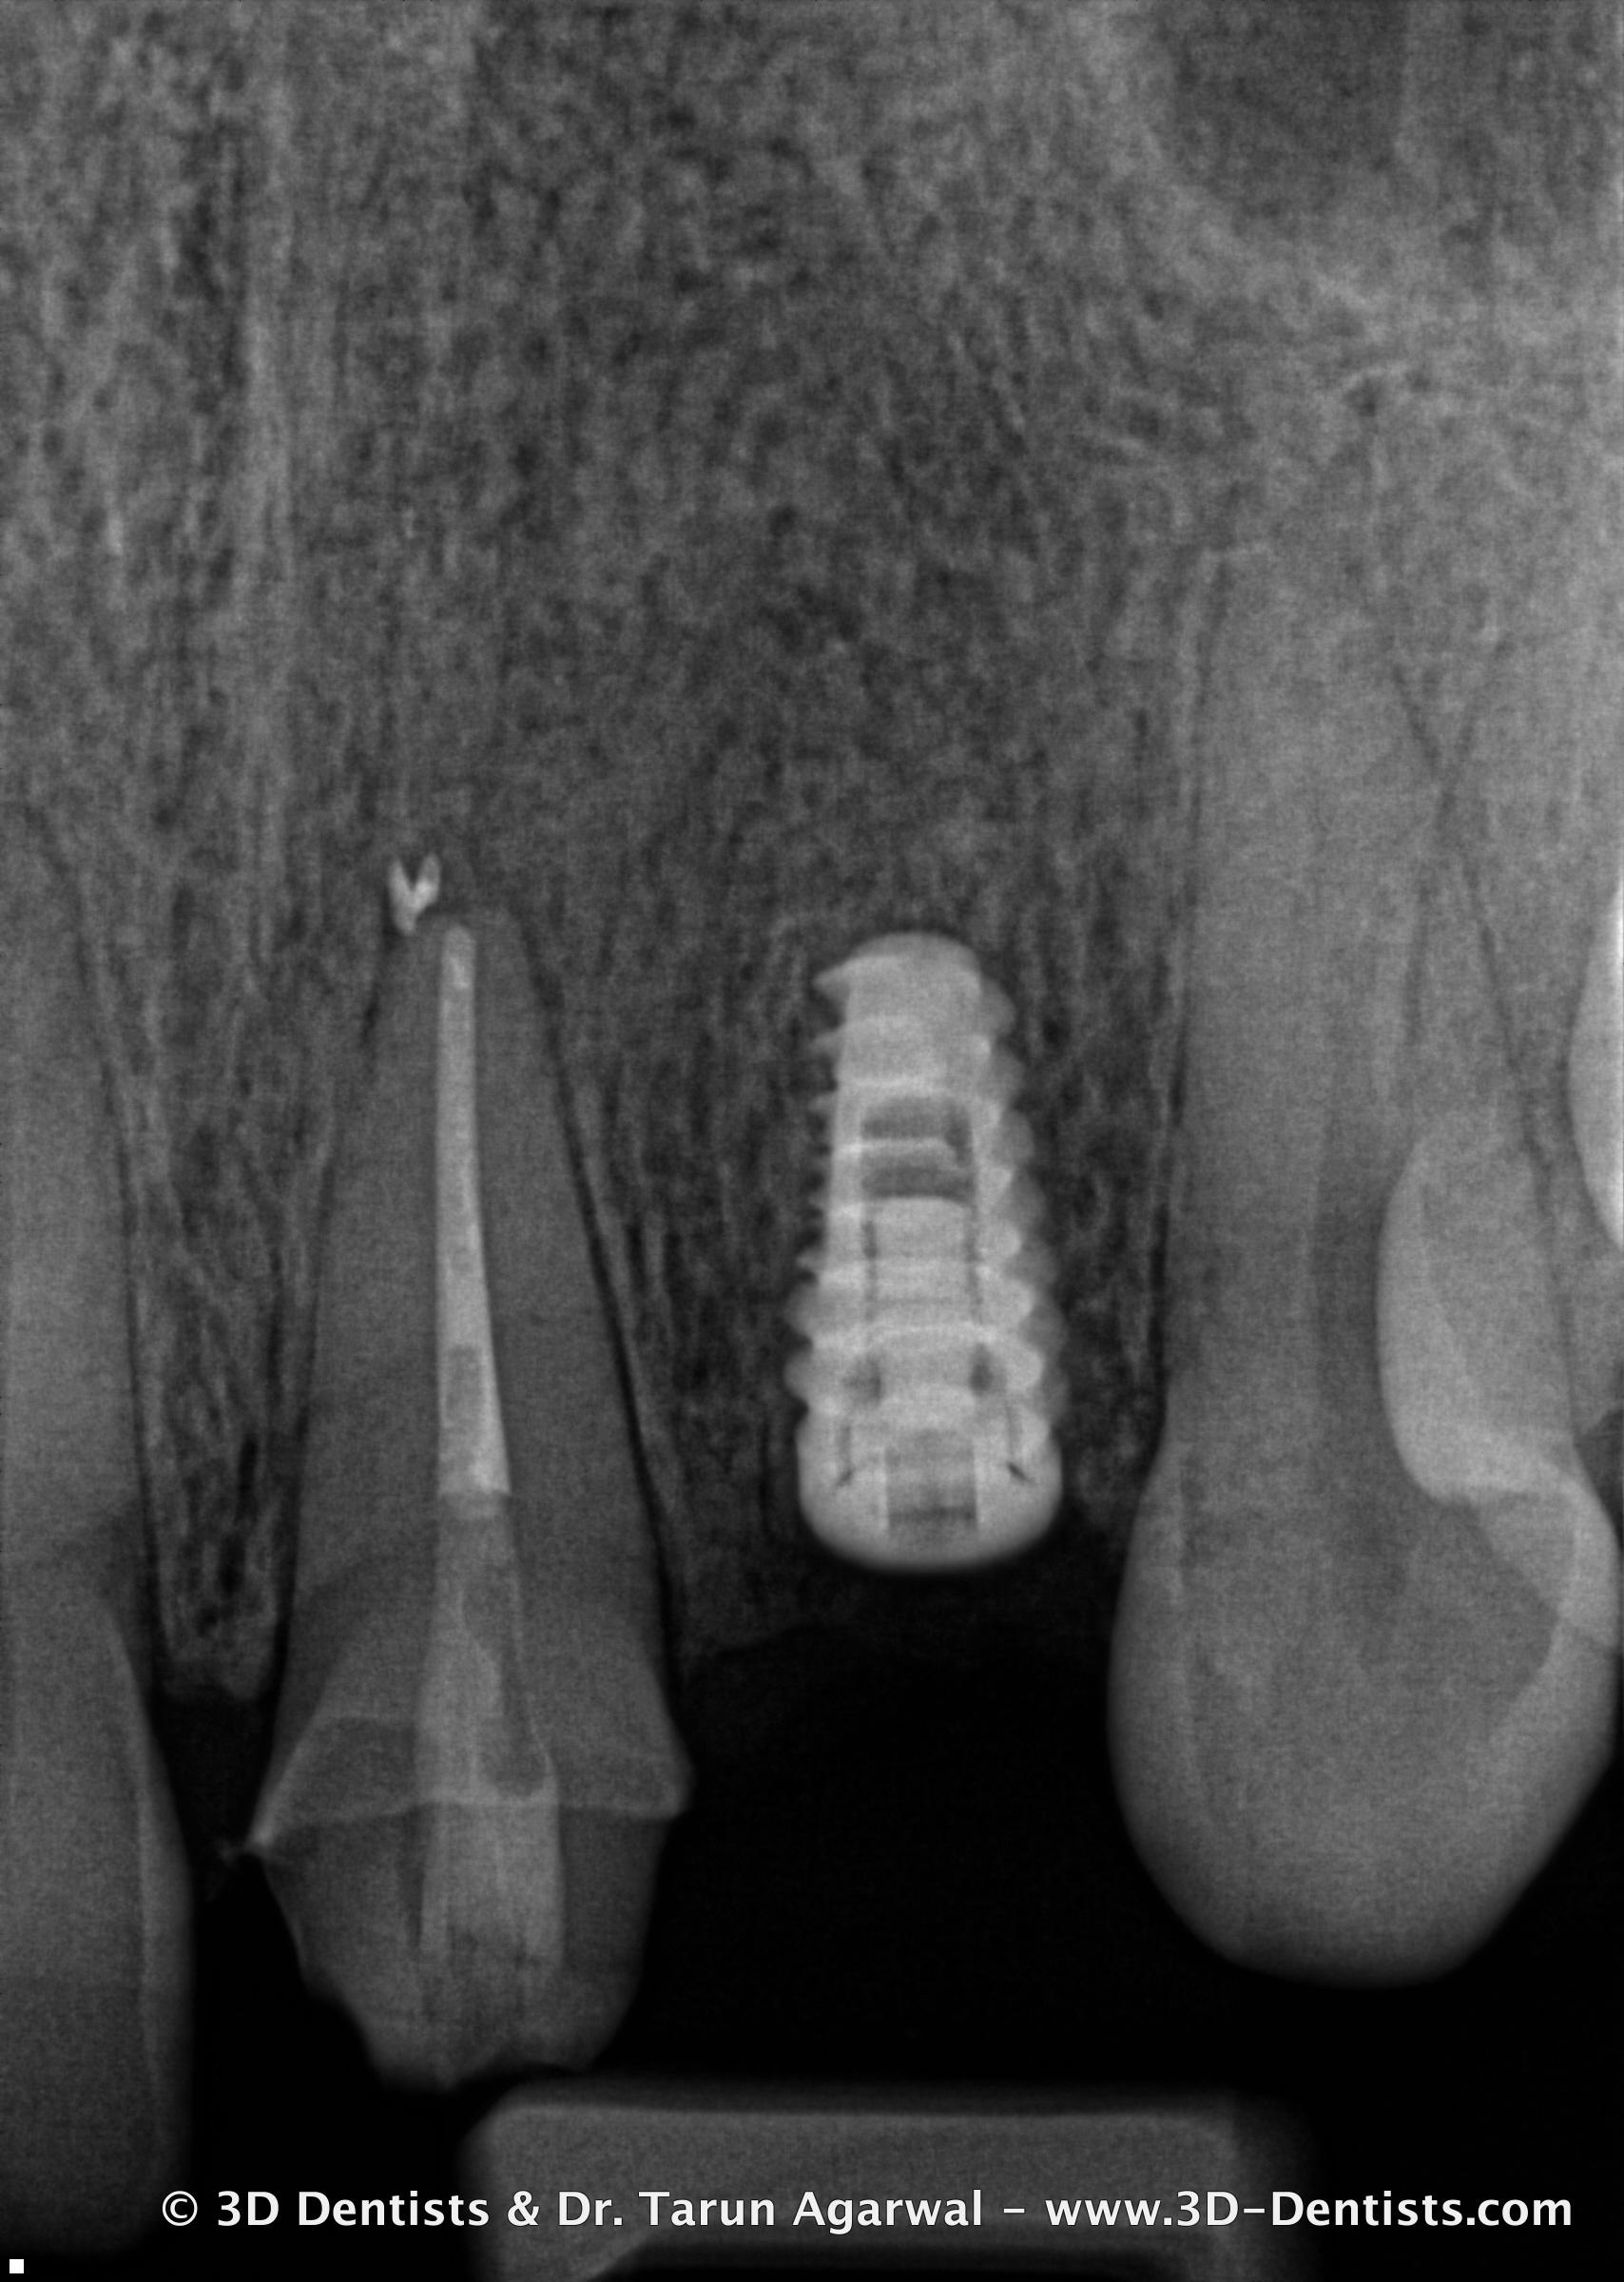
Clinical exam revealed a slight exposure of the nerve on #9 and inadequate bone in site #10 for an implant.
Treatment Plan
A multi-phase treatment plan was developed and agreed up by the patient.
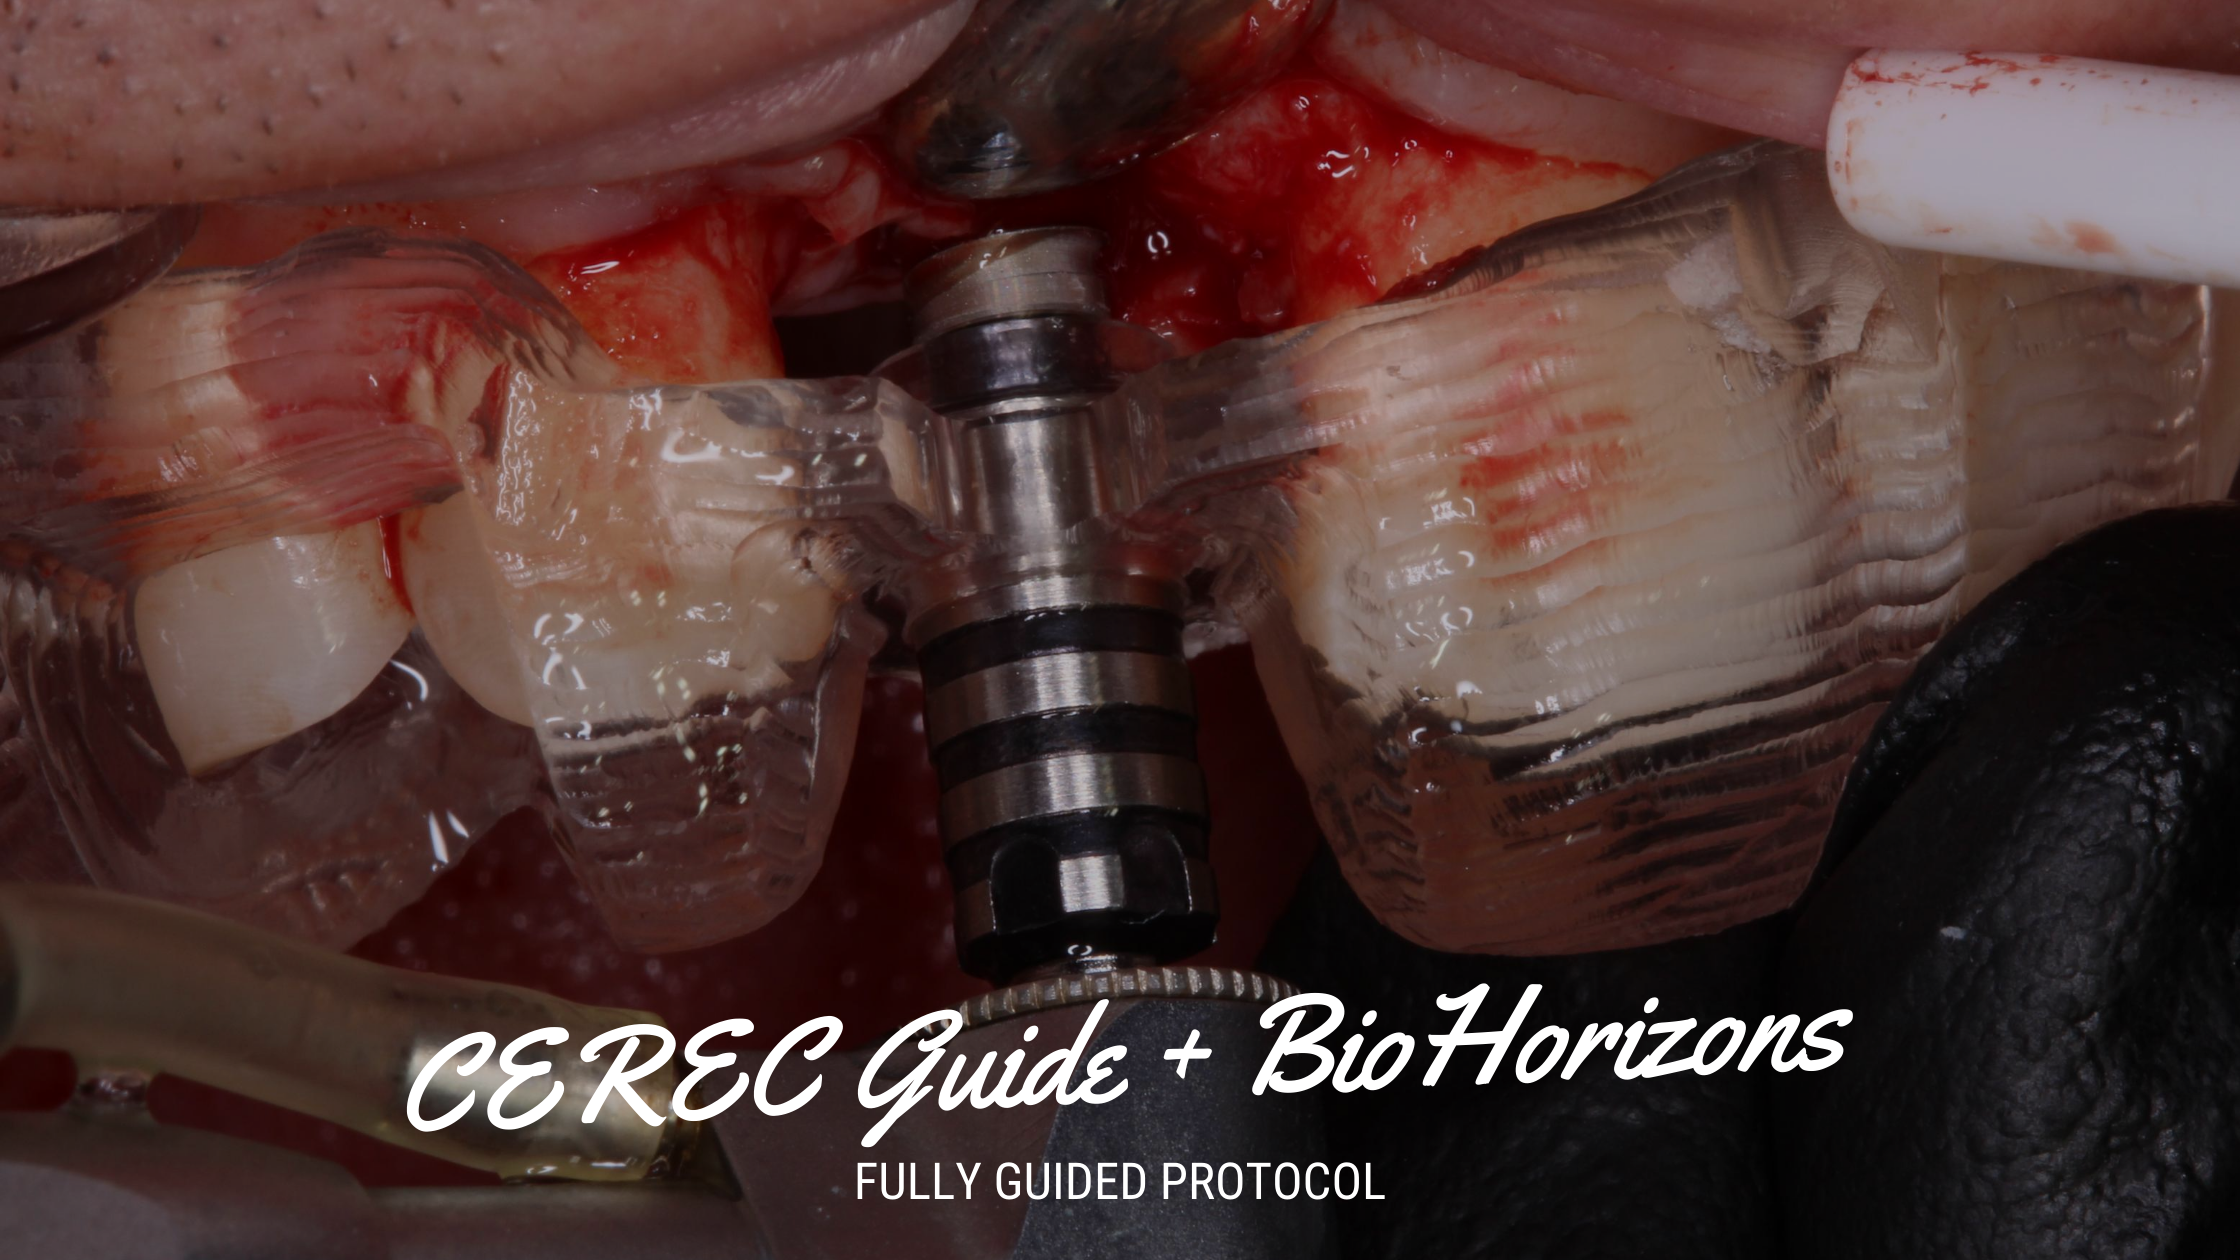
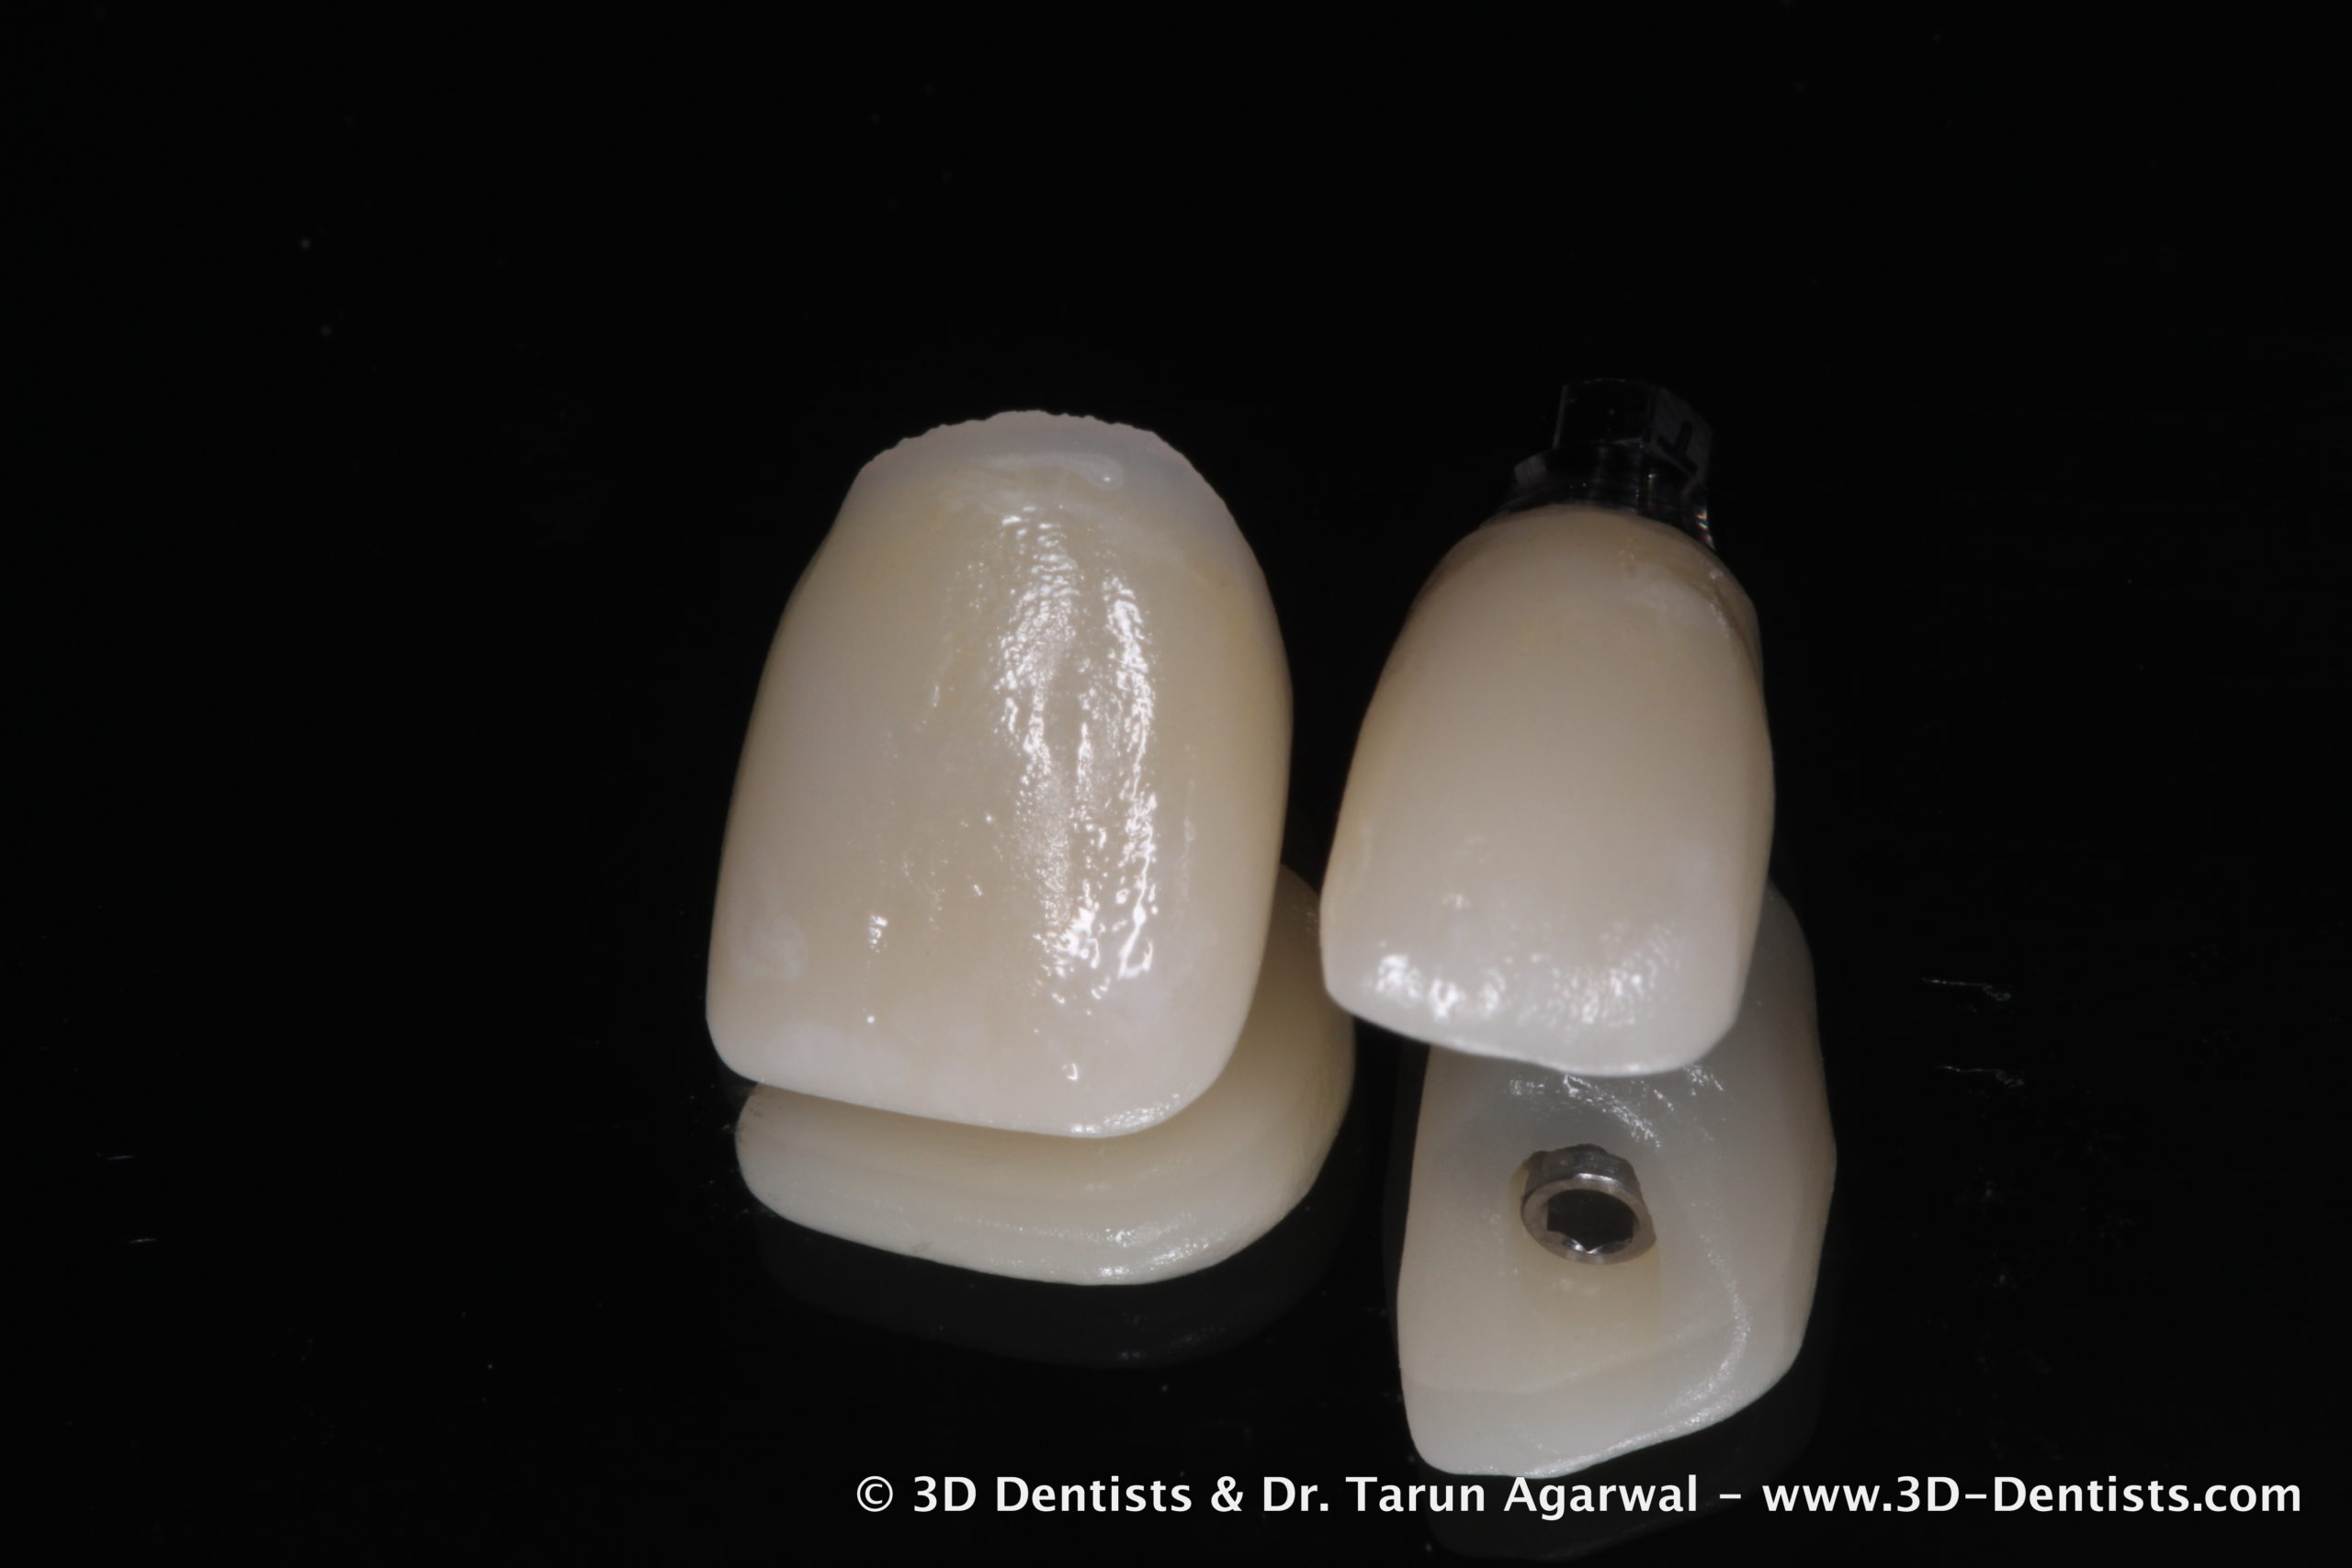
- Endo #9, guided bone regeneration site #10, and temporary ceramic cantilever bridge #9-#10 fabricate with CEREC.
- Implant Placement site #10 with continued use of temporary ceramic cantilever.
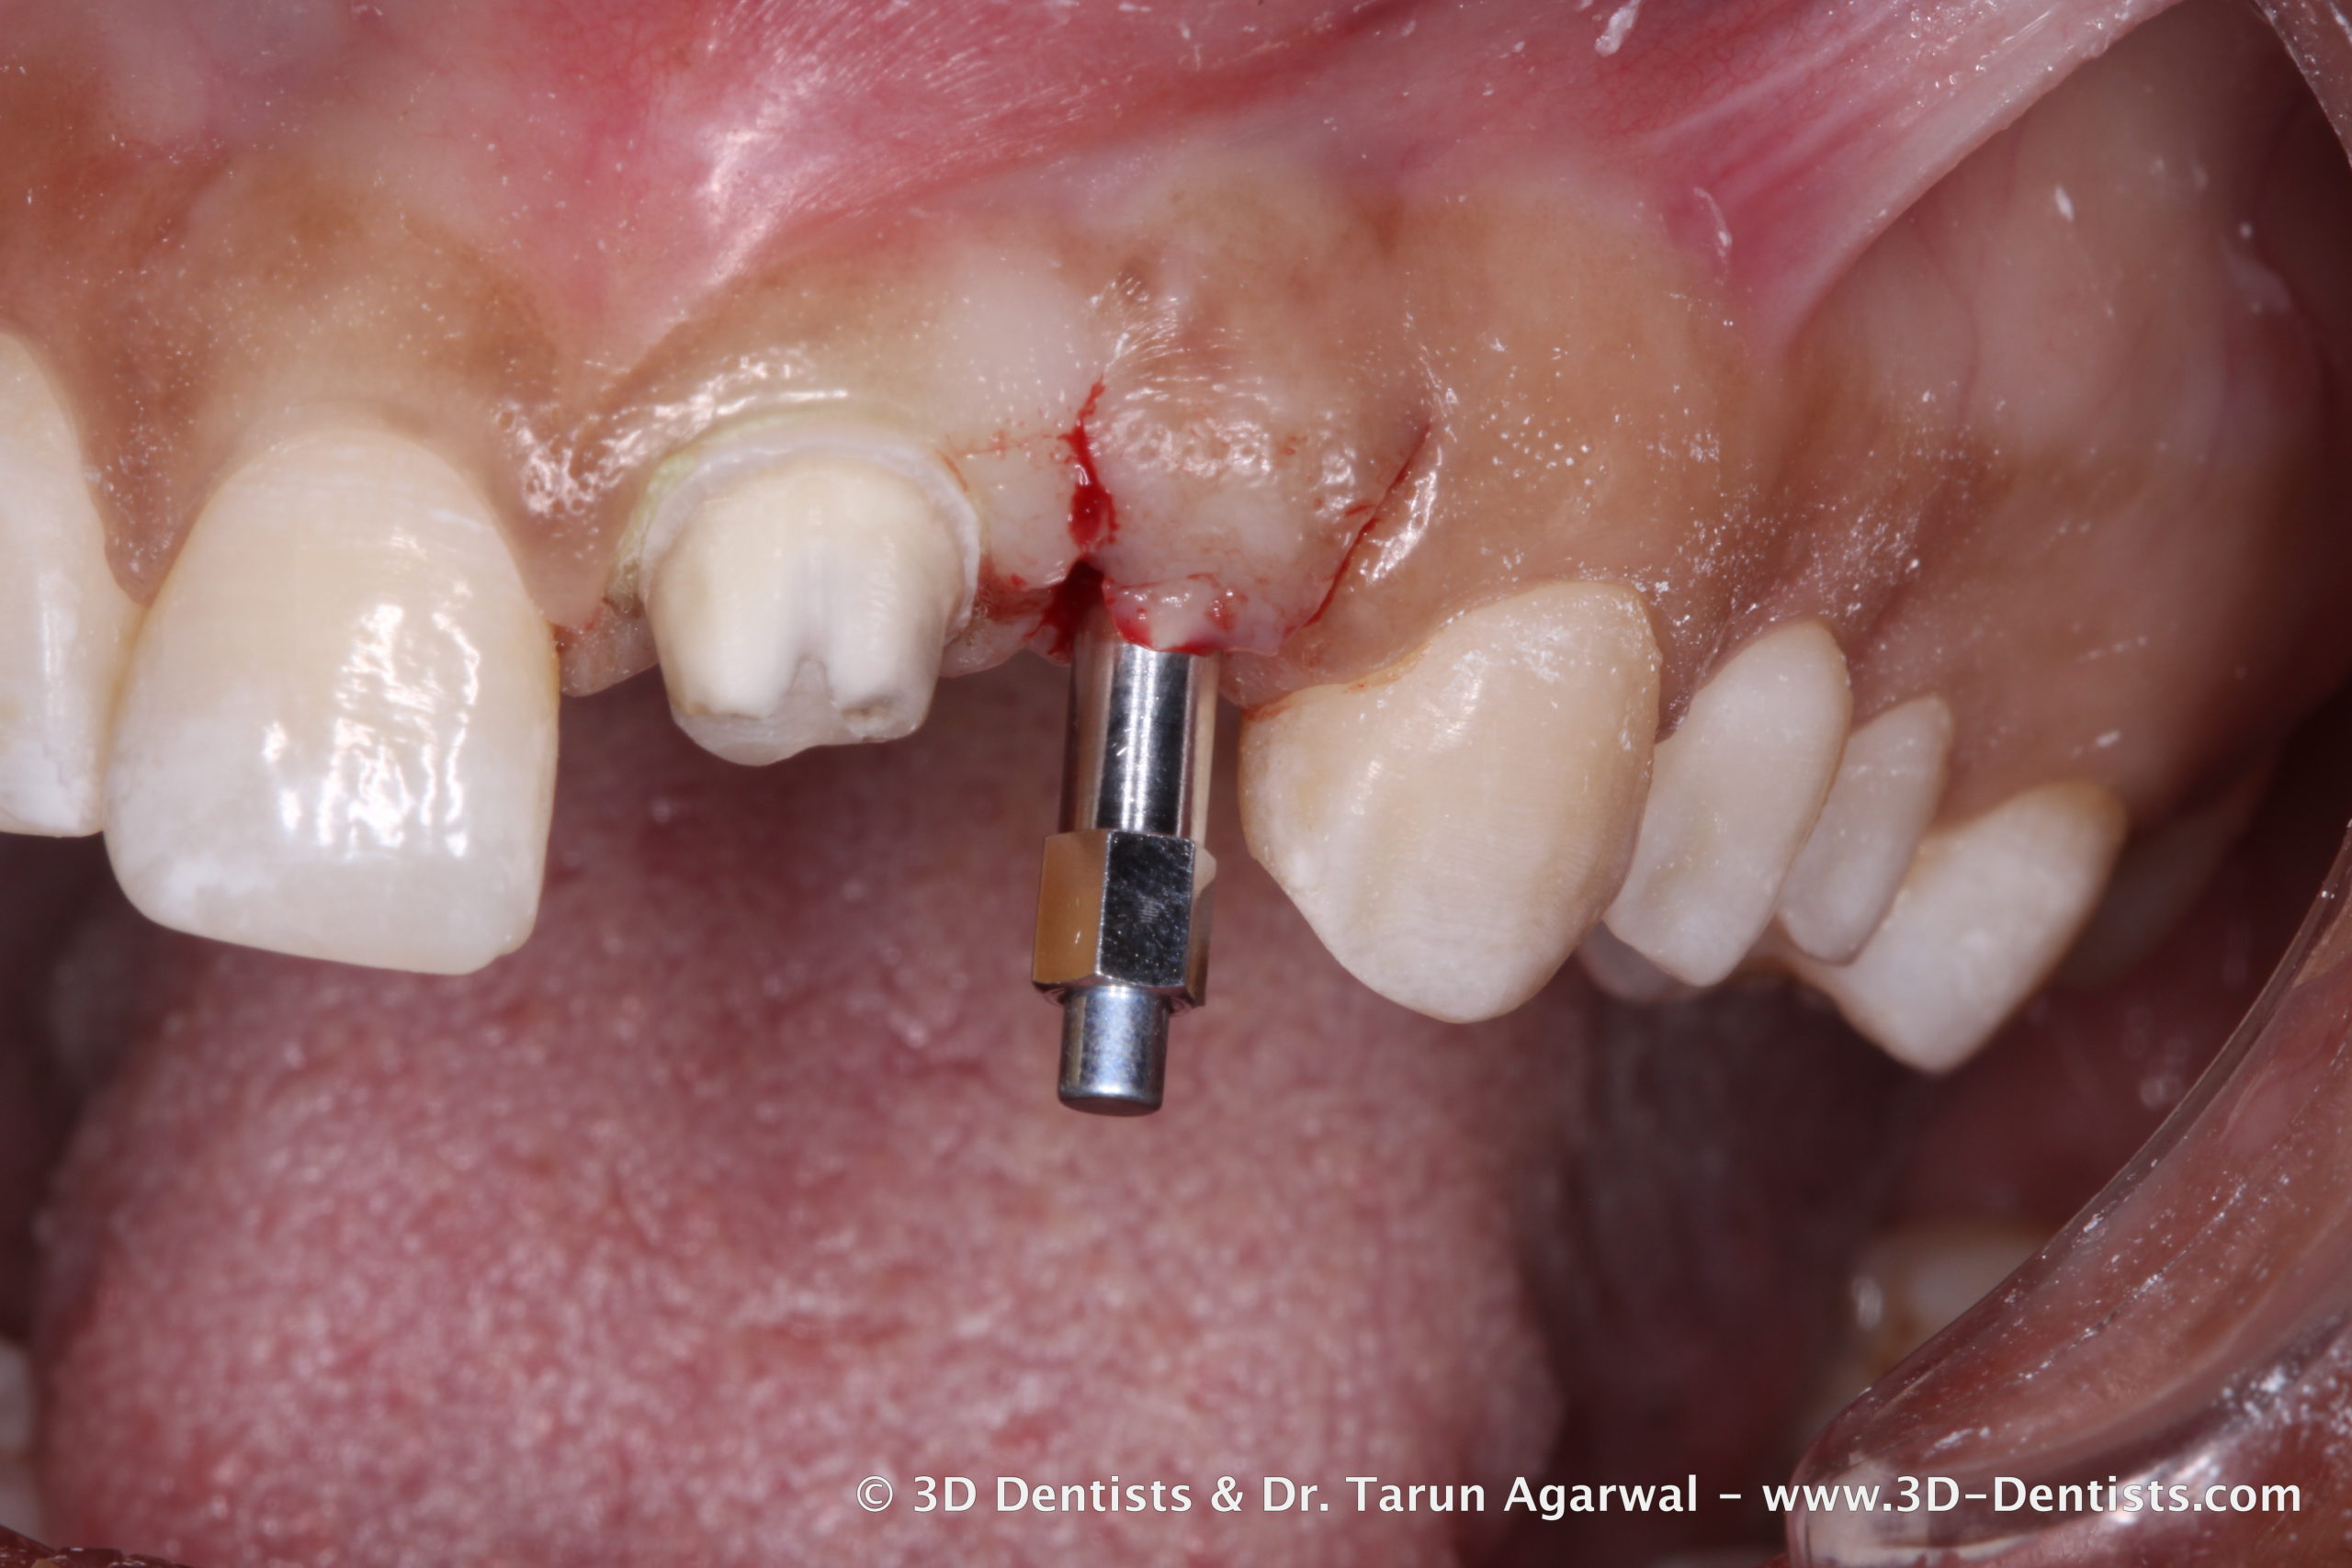
- Implant Uncovery with preparation modication #9 and final impressions #9 and #10 with same day delivery of individual provisionals for soft tissue training.
- Delivery of final restorations
Phase 3 Clinical Steps

Let’s quickly walk through the steps of phase 3.


At this point the patient is now dismissed for 8 weeks to allow for tissue maturation. At which point she will return for delivery of new restorations (from the same digital impression already taken).
The Sales Pitch
There is a lot going on in this case beyond the clinical dentistry.
On the clinical side. I invite you to look into our dental implant training options with 3D Dentists to continue your implant journey. Specifically you should consider our 3D Implant Integration workshop where we teach how to take control of the implant workflow for single unit implants (like the case above) – from fabricating the surgical guide, taking digital impressions, and designing and milling the implant restoration.
On the business side. Most of you reading this want to do more of these cases. The truth is that these cases are walking in and out of your practice regularly. Our business seminars at 3D Dentists give you and your team a fundamental foundation in the skills needed to walk your patients through a proven ‘buying process’ that yields more dentistry from less patients.