Those who have followed me know that one of my passions is to take a clinical procedure and find a way to make it more efficient and produce better outcomes. By now we should all know that CAD/CAM technology is drastically changing how we do dentistry. Until recently this has mainly been limited to traditional restorative dentistry. Now CAD/CAM is dramatically changing implant dentistry.
One of my biggest frustrations with implant dentistry has been the emergence profile. Too often I have patients complaining of food getting stuck under their restorations. For the longest time I simply didn’t understand why this was happening. One day it finally dawned on me – it’s all about the healing abutment!
Let me ask you this. When is the last time you have seen a molar emerge from the tissue as a 5mm or 6mm circle? Hopefully you answer never! Then why are we putting these ‘stock’ healing abutments on implants?
If you aren’t a CEREC office, here’s what I suggest you do to improve your implant outcomes. If you are a CEREC owner then I suggest you read my other blog posts to better understand how we are doing this in a single visit utilizing CEREC.
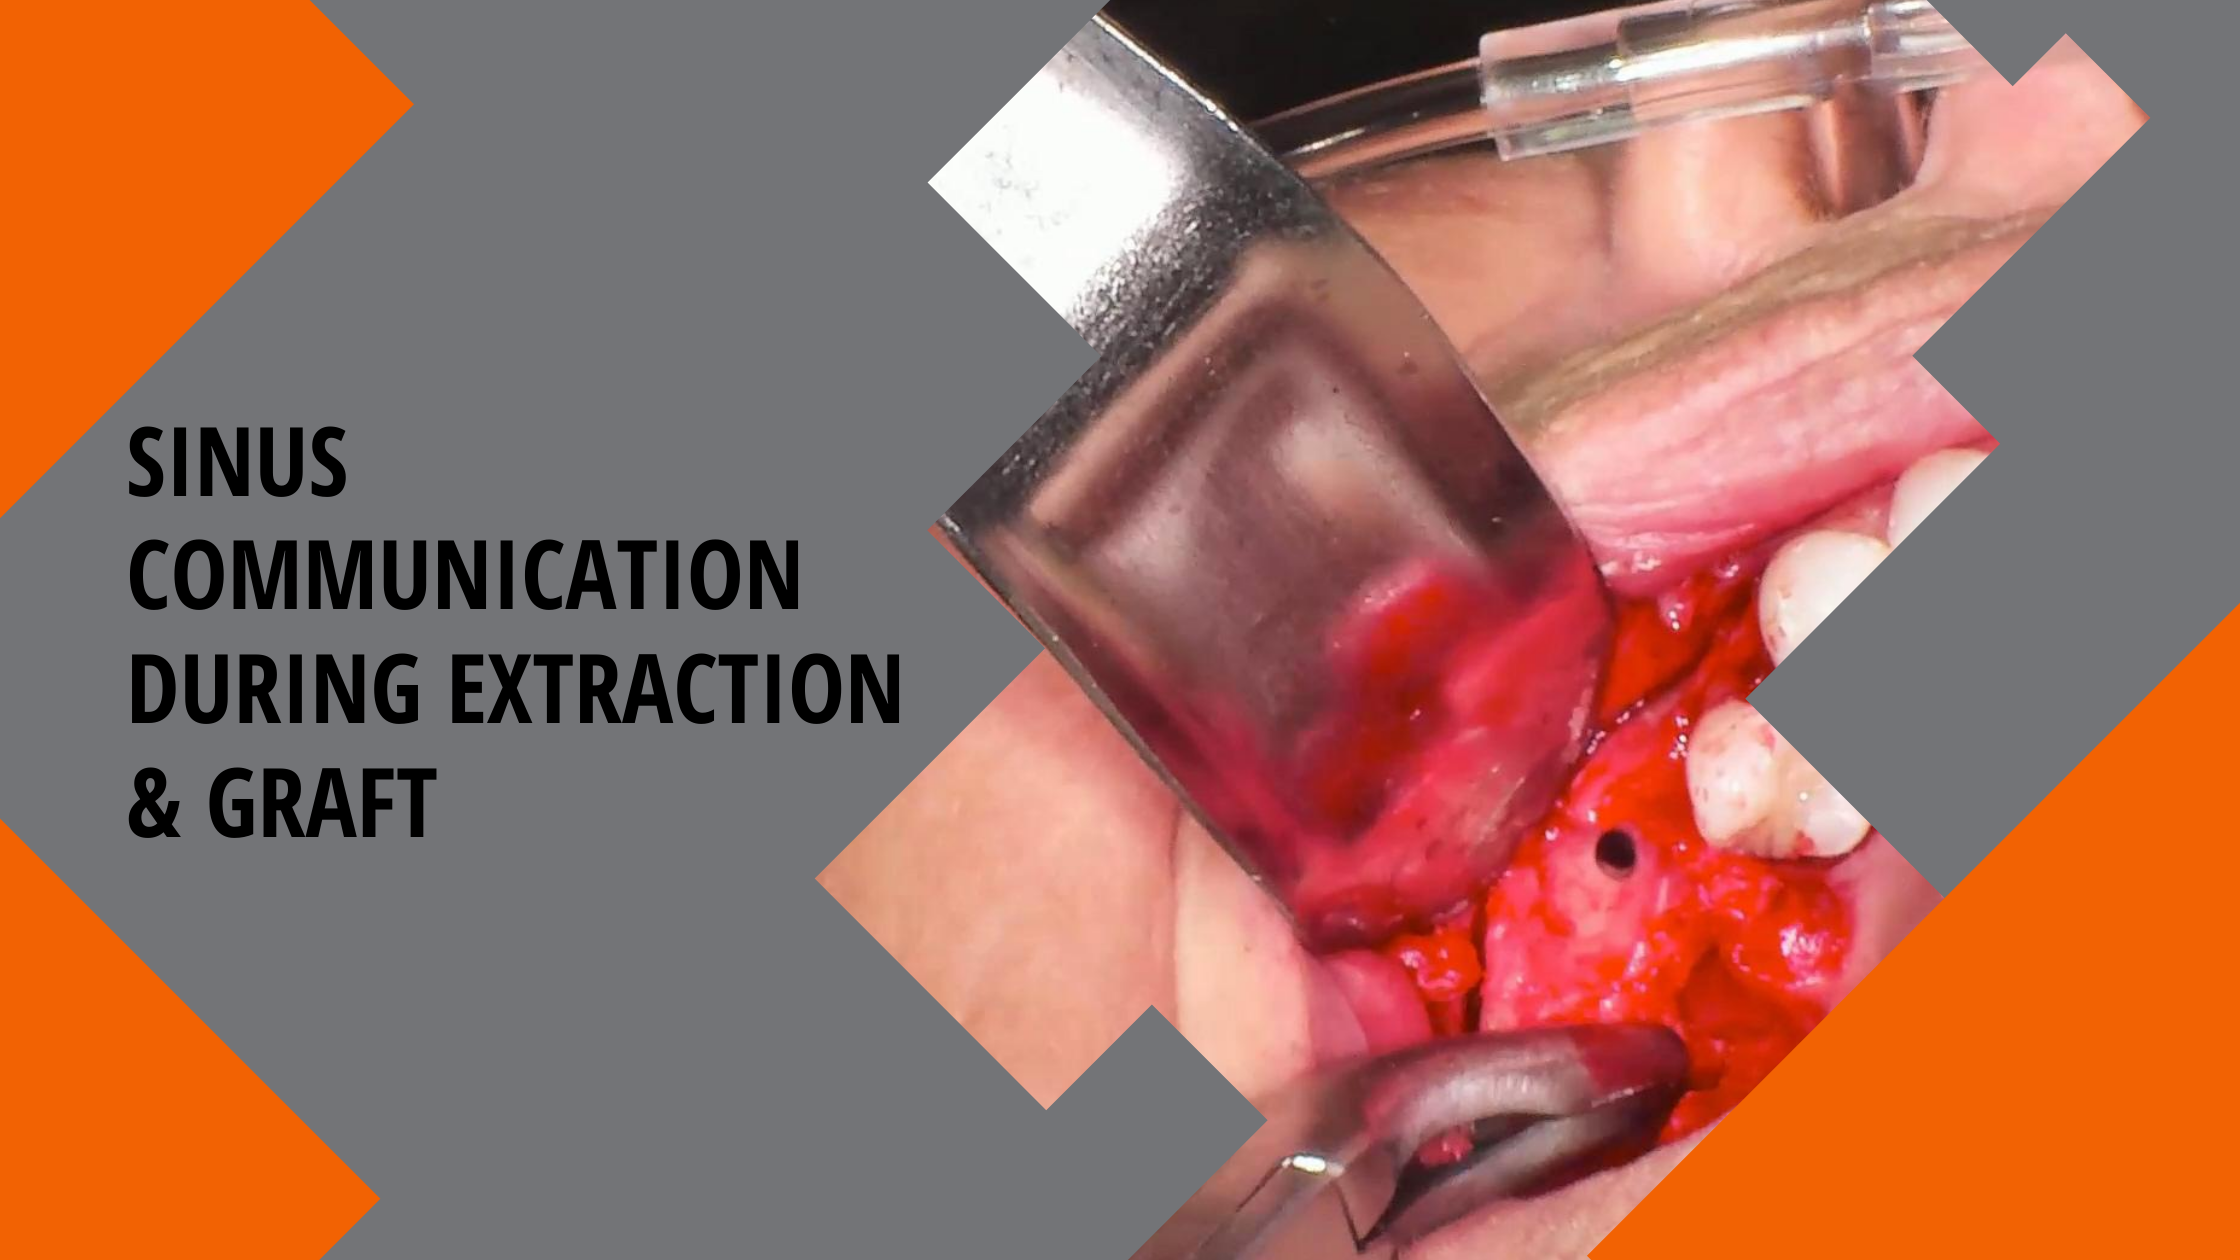
Jim came to our office with a fractured tooth #19.

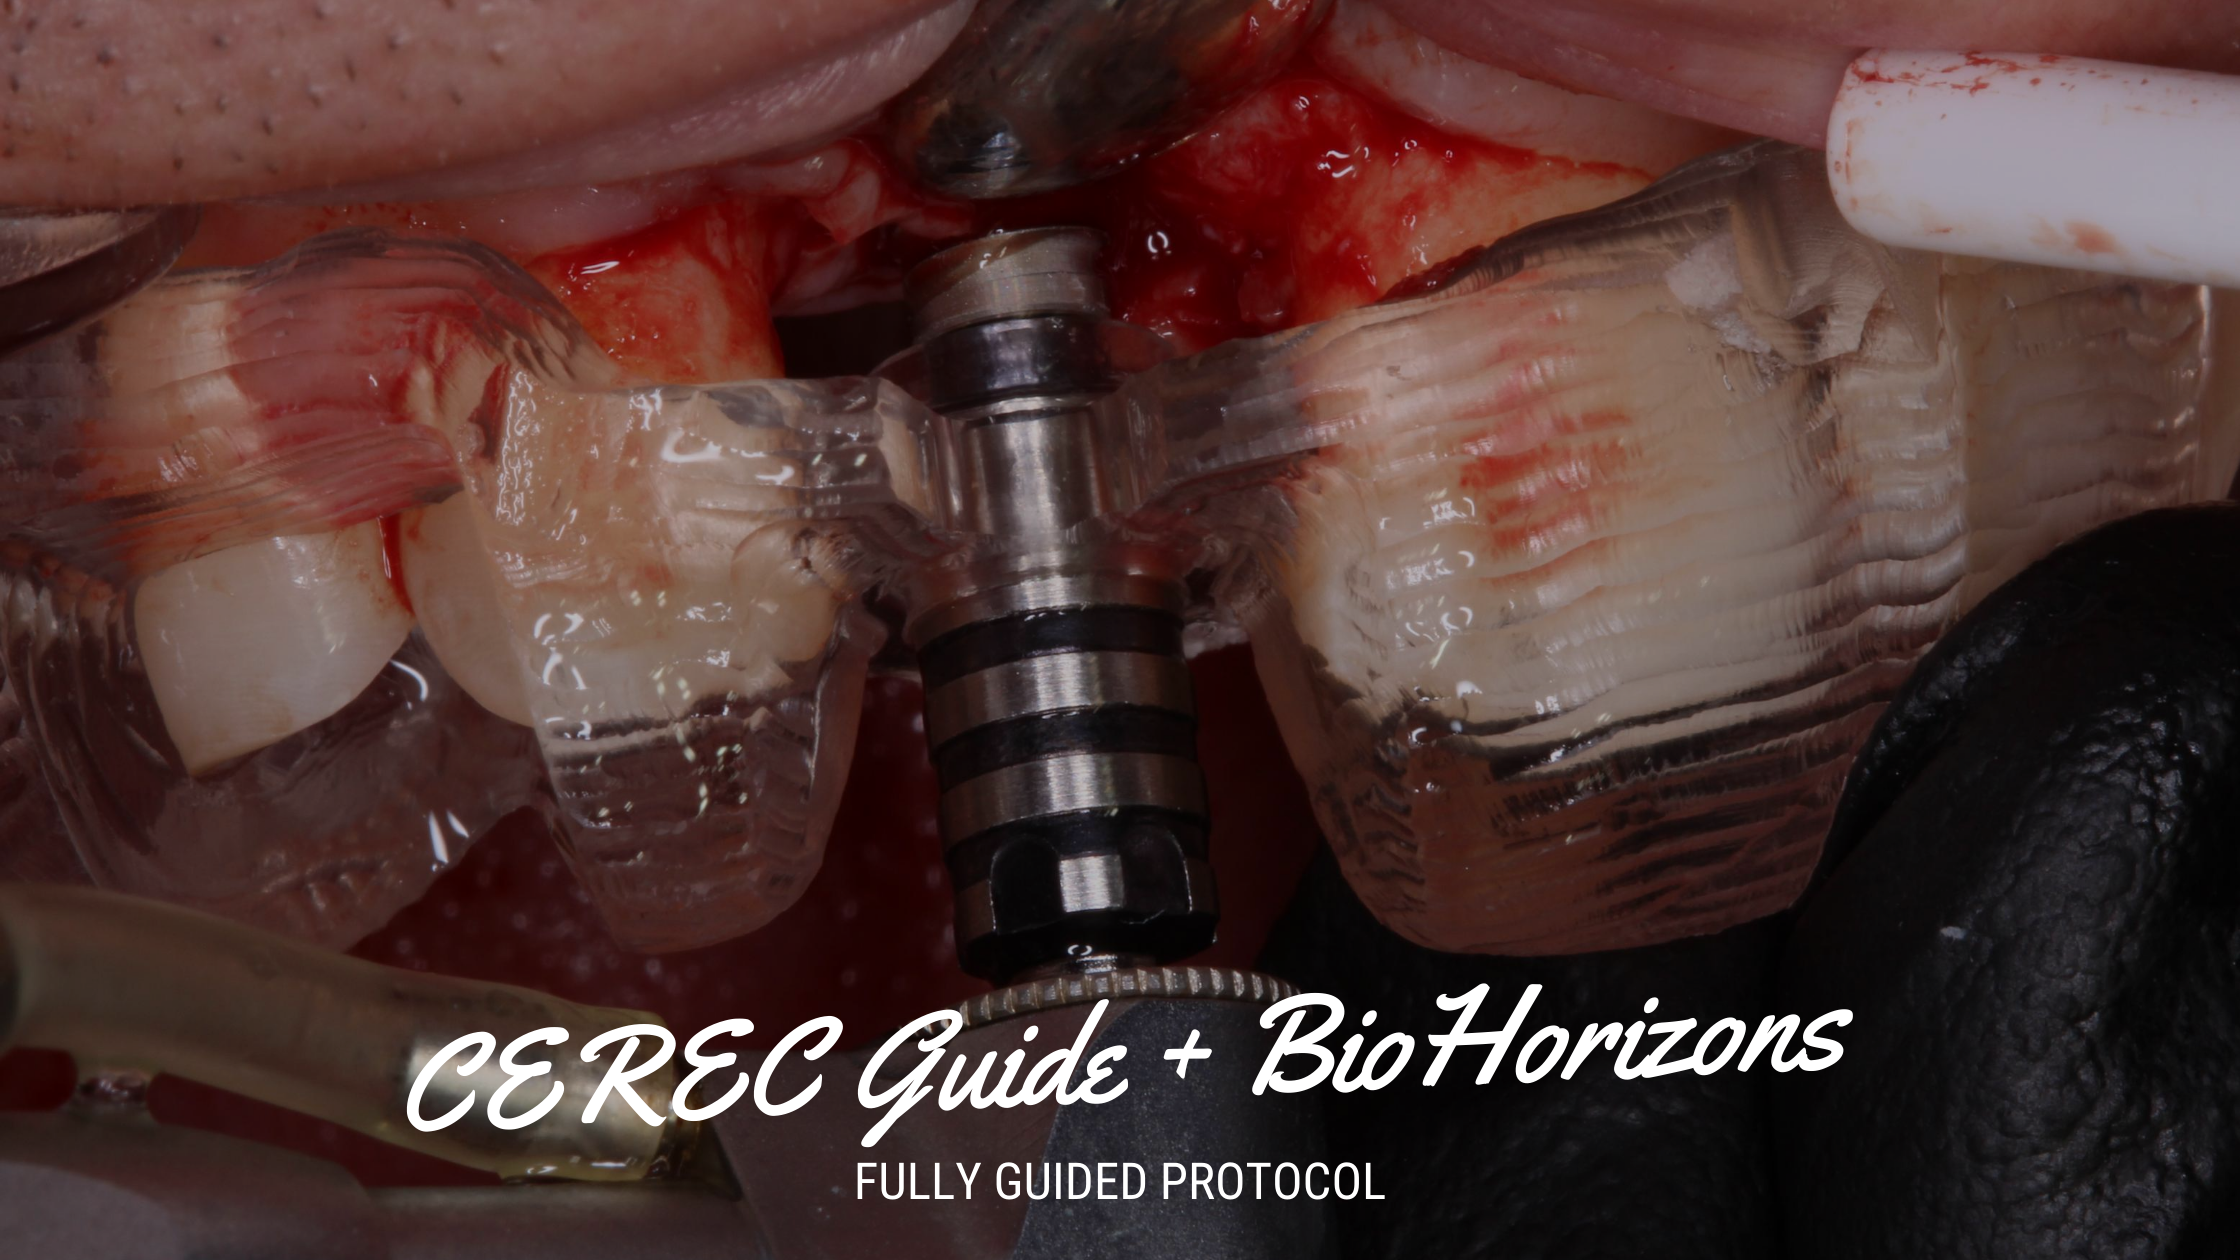
We created a 3D virtual plan for idealizing implant placement at time of extraction of #19.

At the time of surgery we took an implant level impression for fabrication of a custom healing abutment. In our case we take it digitally, but this can also be done using PVS.

The impression is forwarded to our laboratory – in my case I am utilizing Glidewell Dental Laboratory – for the fabrication of the custom healing abutment. They can fabricate this in either PEEK or titanium. My personal preference is PEEK material as it allows for easier chairside adjustment.

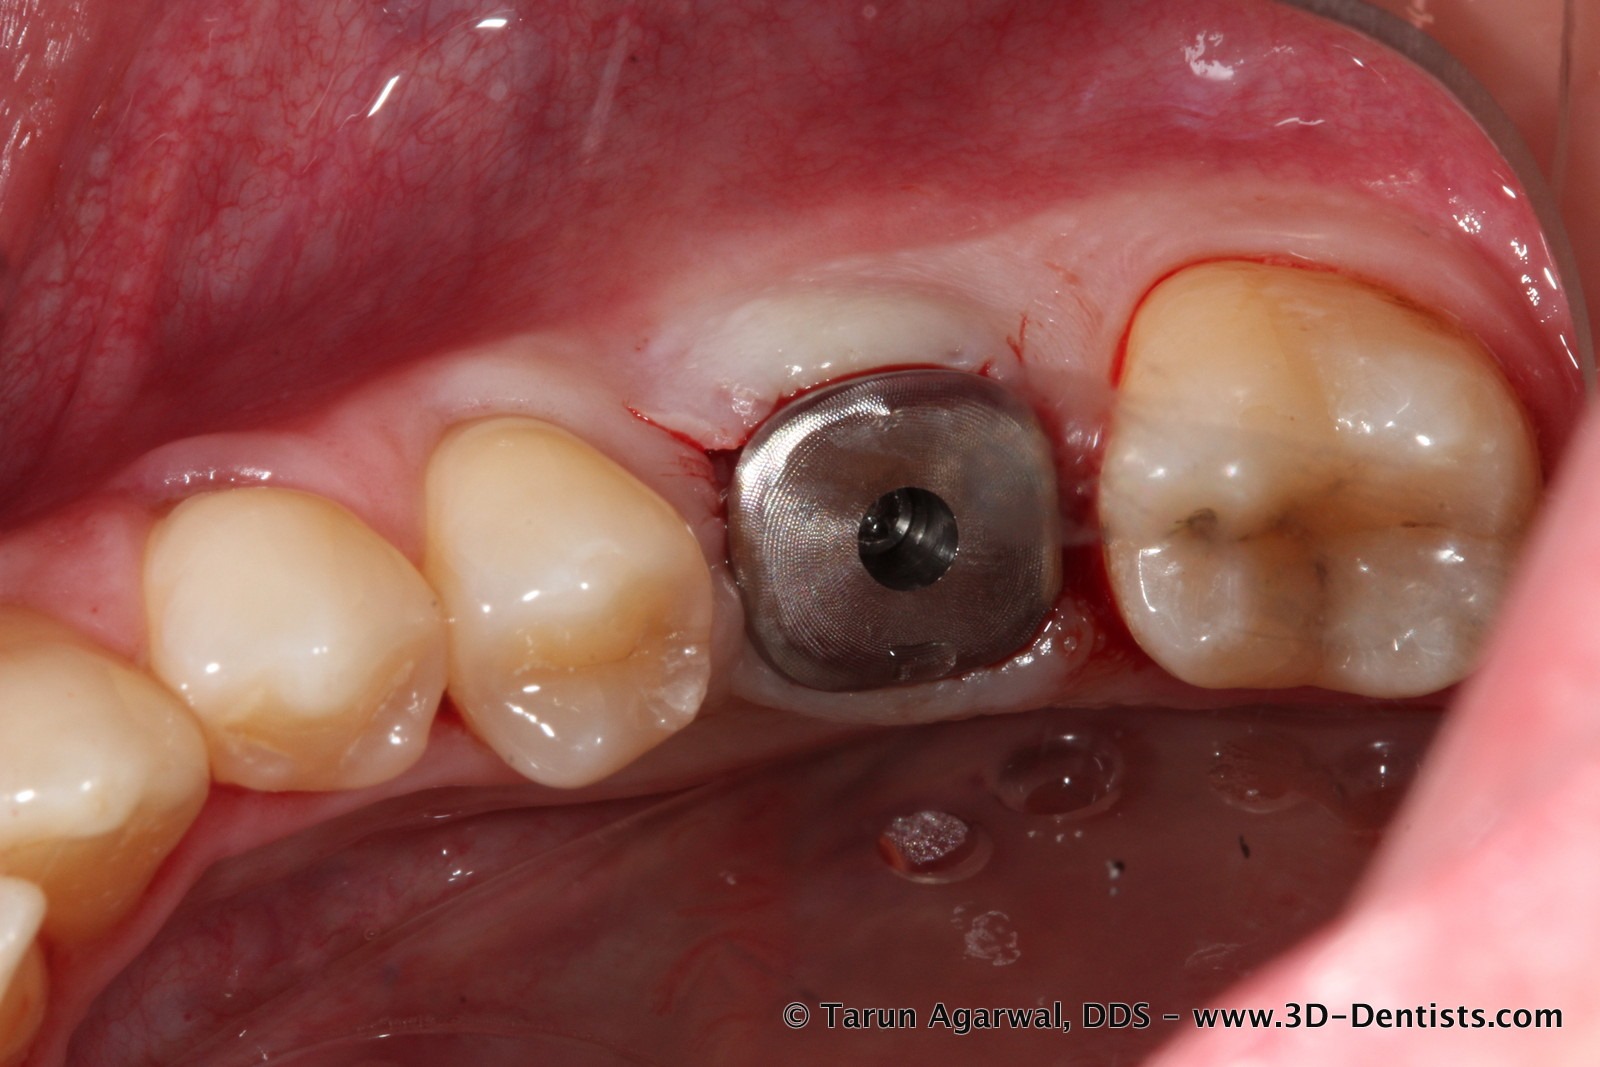
After integration the patient returns to the office for uncovery. A small crestal incision is made (I call it a Pita Pocket) to expose the implant.

The custom healing abutment is attached to the implant to ideally form the tissue emergence.

After 4-6 weeks the patient returns for final impression with the newly formed tissue emergence.


This idealized tissue allows the fabrication of a restoration that properly fills the emergence to minimize any food traps.


So there you have it – a great way to take your implant restorations to a higher level. I encourage each of you to strive to idealize your implant restorations and give your patients the absolute highest level of care.
If you aren’t placing your implants and they are returning from your surgical specialist office with a stock healing abutment – take a moment to share this blog post with him/her. Ask that your cases come back to you with a custom healing abutment to make your restorative work that much better!