Not all implant cases are created equal. Some cases are straightforward and don’t need a flap or grafting to complete. Some are complex and require ‘pre implant’ surgery to allow you to even place the implant.
In my opinion, one of the great advantages of 3D imaging to plan your implant cases is that you see the pitfalls before they happen. One direct advantage is knowing in advance how much time to schedule and having all the materials out. Another advantage is better outcomes. Many failures occur because we simply missed infection tissue, lack of bone thickness, or inadequate bone for primary stability (in immediate placement cases).
Lydia came to our office with a chief complaint regarding tooth #3. She was already missing tooth #2 and tooth #3 has a previously done failing root canal. The crown on #3 has been lost and the clinical exam revealed decay that left #3 non restorable.


Our final treatment plan was extraction, immediate implant, bone grafting followed by implant restoration post integration.
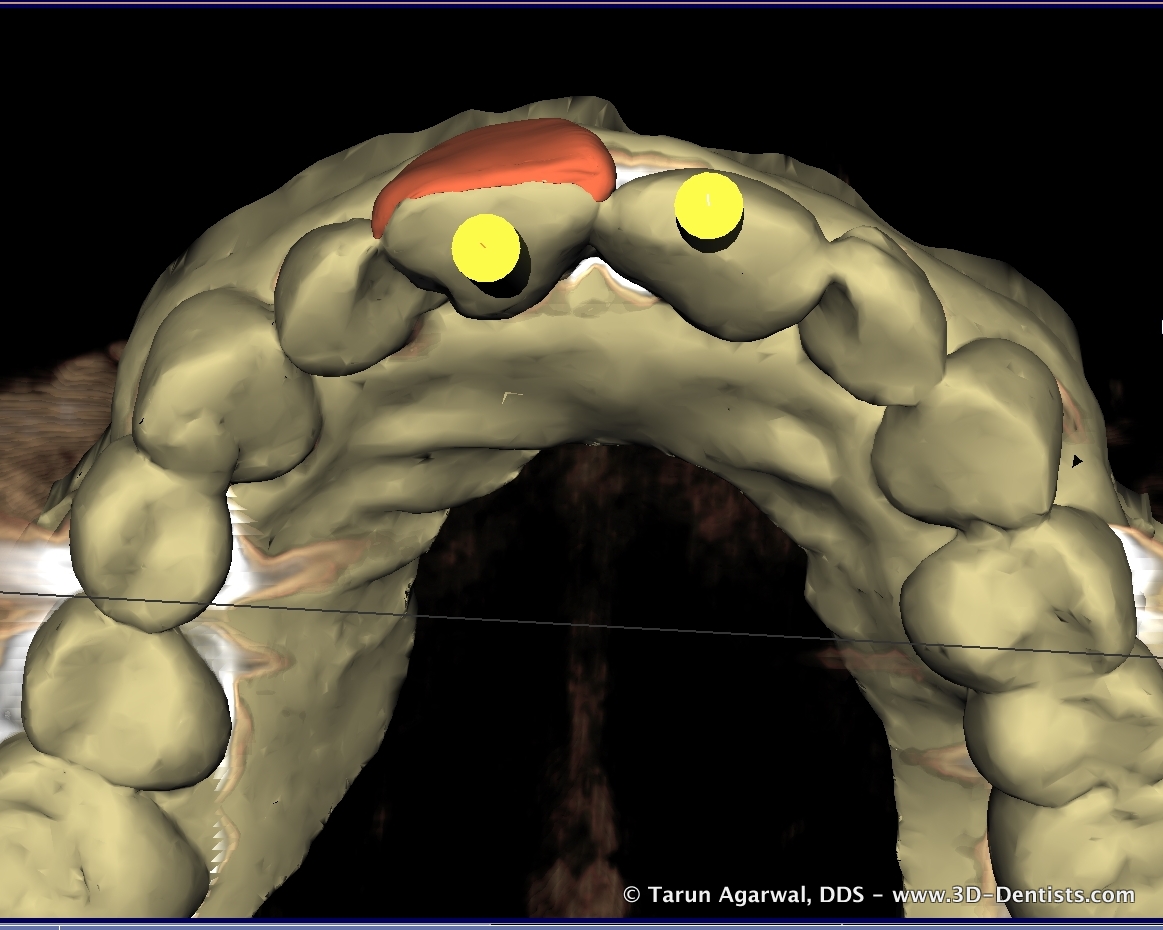
The 3D evaluation revealed several important items.


* adequate interseptal and apical bone existed to achieve primary stability for immediate placement
* sufficient length existed without any sinus augmentation
* periapical lesion penetrated the buccal wall which would necessitate a flap and grafting
* final restoration could easily be completed as a screw retained restoration
Without 3D imaging there is a chance that the buccal wall defect may not have been caught and could have left to failure. Again, I said chance and not for certain.
Knowing all this information and sharing it with my dental assistant allowed our appointment to be well planned, materials readily available, and a plan of action to minimize chair time for the patient.
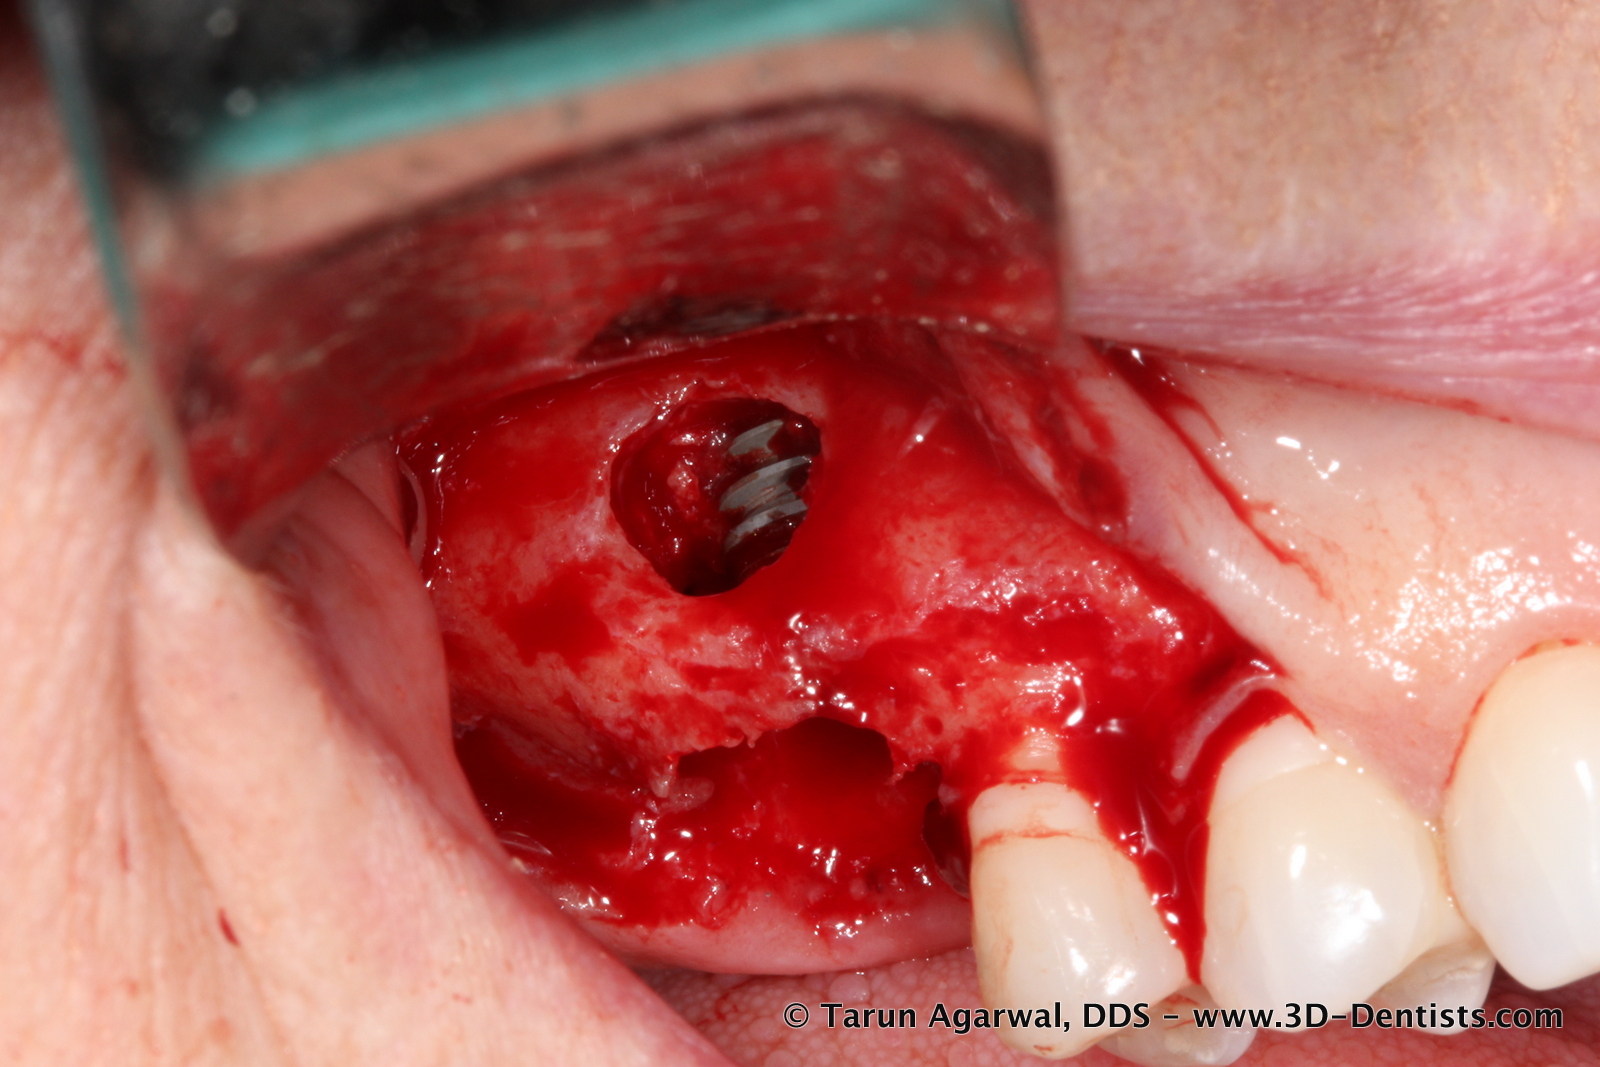
Once her tooth was removed, a flap was reflected and as expected a large buccal defect was revealed.

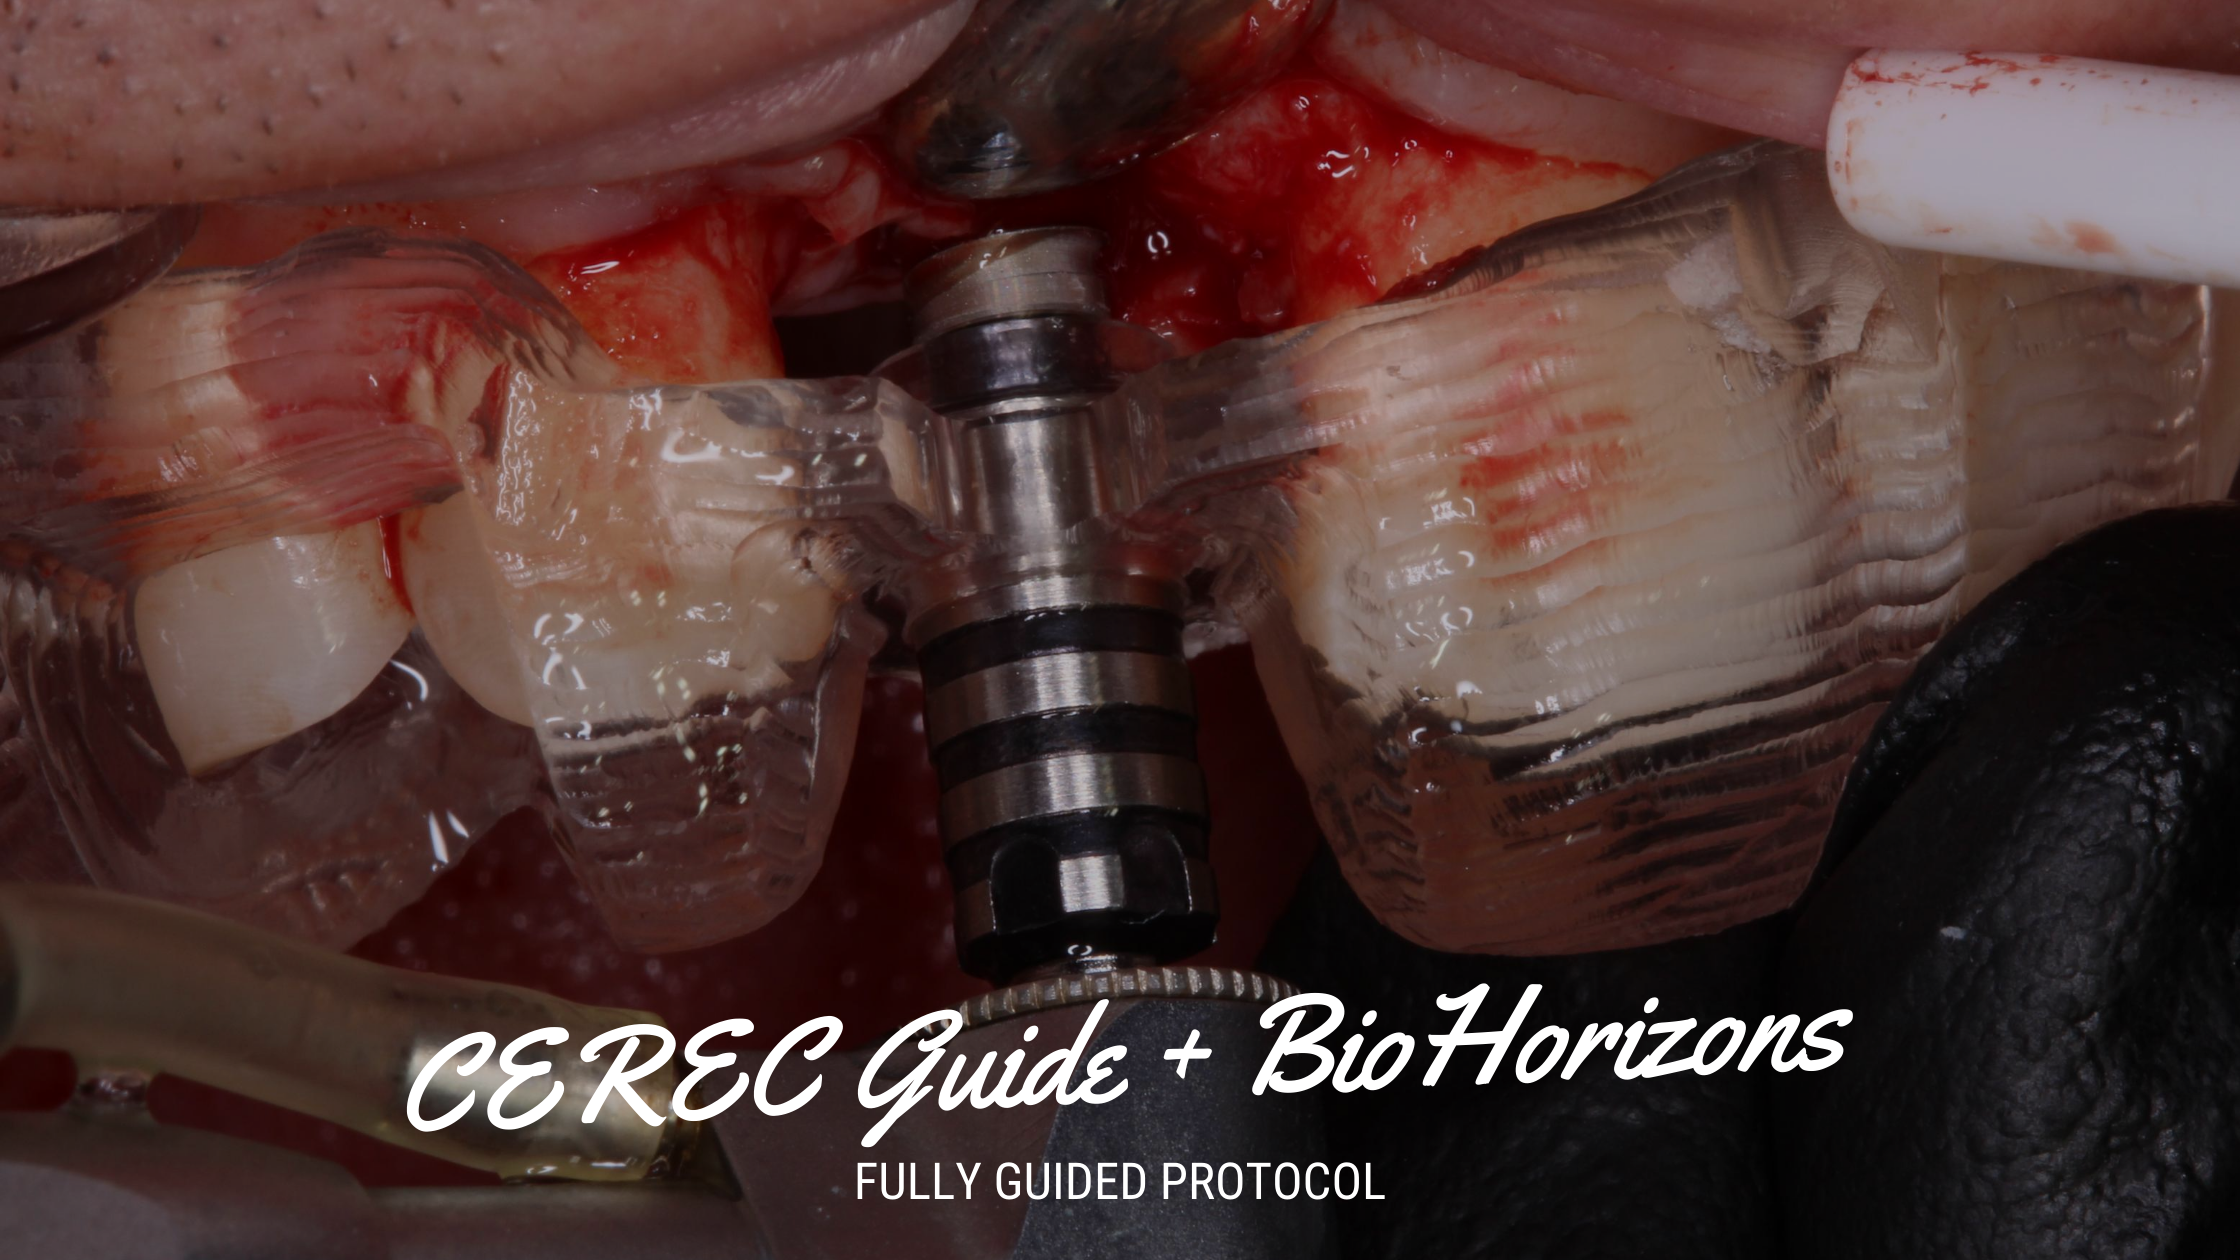
Utilizing a guided surgery (OptiGuide created from image 3) the osteotomy completed (undersized due to immediate and posterior maxilla) and implant inserted through the guide. Well over 35Ncm of torque was achieved in placement.


A benefit of guided surgery in immediate cases is the keep the osteotomy and implant placement on target. Instruments and implants want to travel the path of least resistance – in this case into socket space or buccal defect space. The guided instrumentation keeps the trajectory as planned.

After insertion, particulate bone material was placed into the root sockets to ‘seal the gap’ and in the buccal defect.

A collagen membrane was placed and the flap closed and sutured.


This entire procedure was completed in less than an hour and my assistant never needed to leave the room to gather more materials. This was accomplished almost entirely because of our grasp and use of 3D imaging.